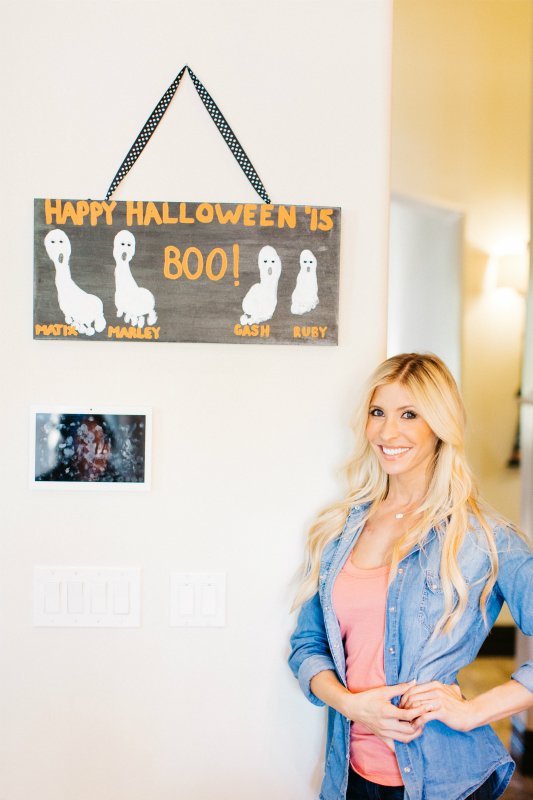
So I must admit…I am not the most crafty gal alive, but I am lucky enough to have some creative peeps in my life that are! One of them? My sweet, amazing, talented, kind, gorgeous nanny. Ladies and gents, not only does she love our kiddos like her own when we cannot be with them, but she welcomes us home from trips with cute crafts like this one. Yes, we came home from a shoot out in Portland last week, only to find a spotless home, happy kiddos, and this adorable Halloween craft that I will surely keep forever.
Today, we are showing you how to make this easy peasy craft with your little munchkins. It’s nearly mess-free (as long as you don’t let the kids walk around the house with paint on their feet), and takes no longer than 20 minutes, start to finish! Let’s get crafting!!
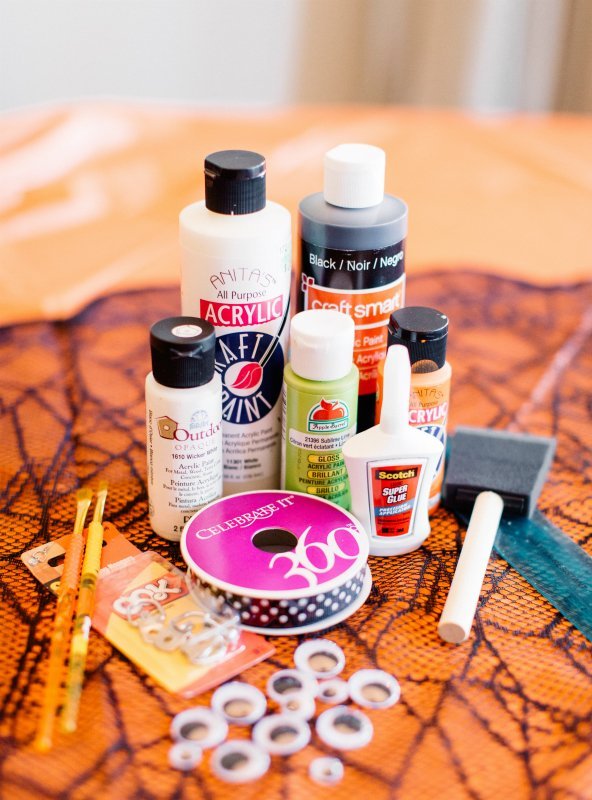
Supplies:
Super glue
MDF wood – .1/2″x12″x24″
Small D-ring hangers (I bought a 10pc set)
Ribbon (any festive pattern you like)
Acrylic paint – black, white, orange, and green if you want (this is washable!)
2″ foam brush (to paint wood)
Tiny paint brush (for lettering)
Google eyes (any size you want)
Ruler and drill (to hang hooks)
How-to:
- NIGHT BEFORE (or enough hours before to allow to completely dry): Using the 2″ foam brush and black paint, paint the entire MDF board, front and back. Allow this to dry completely and wash your kiddos’ feet?before you start the next step.?

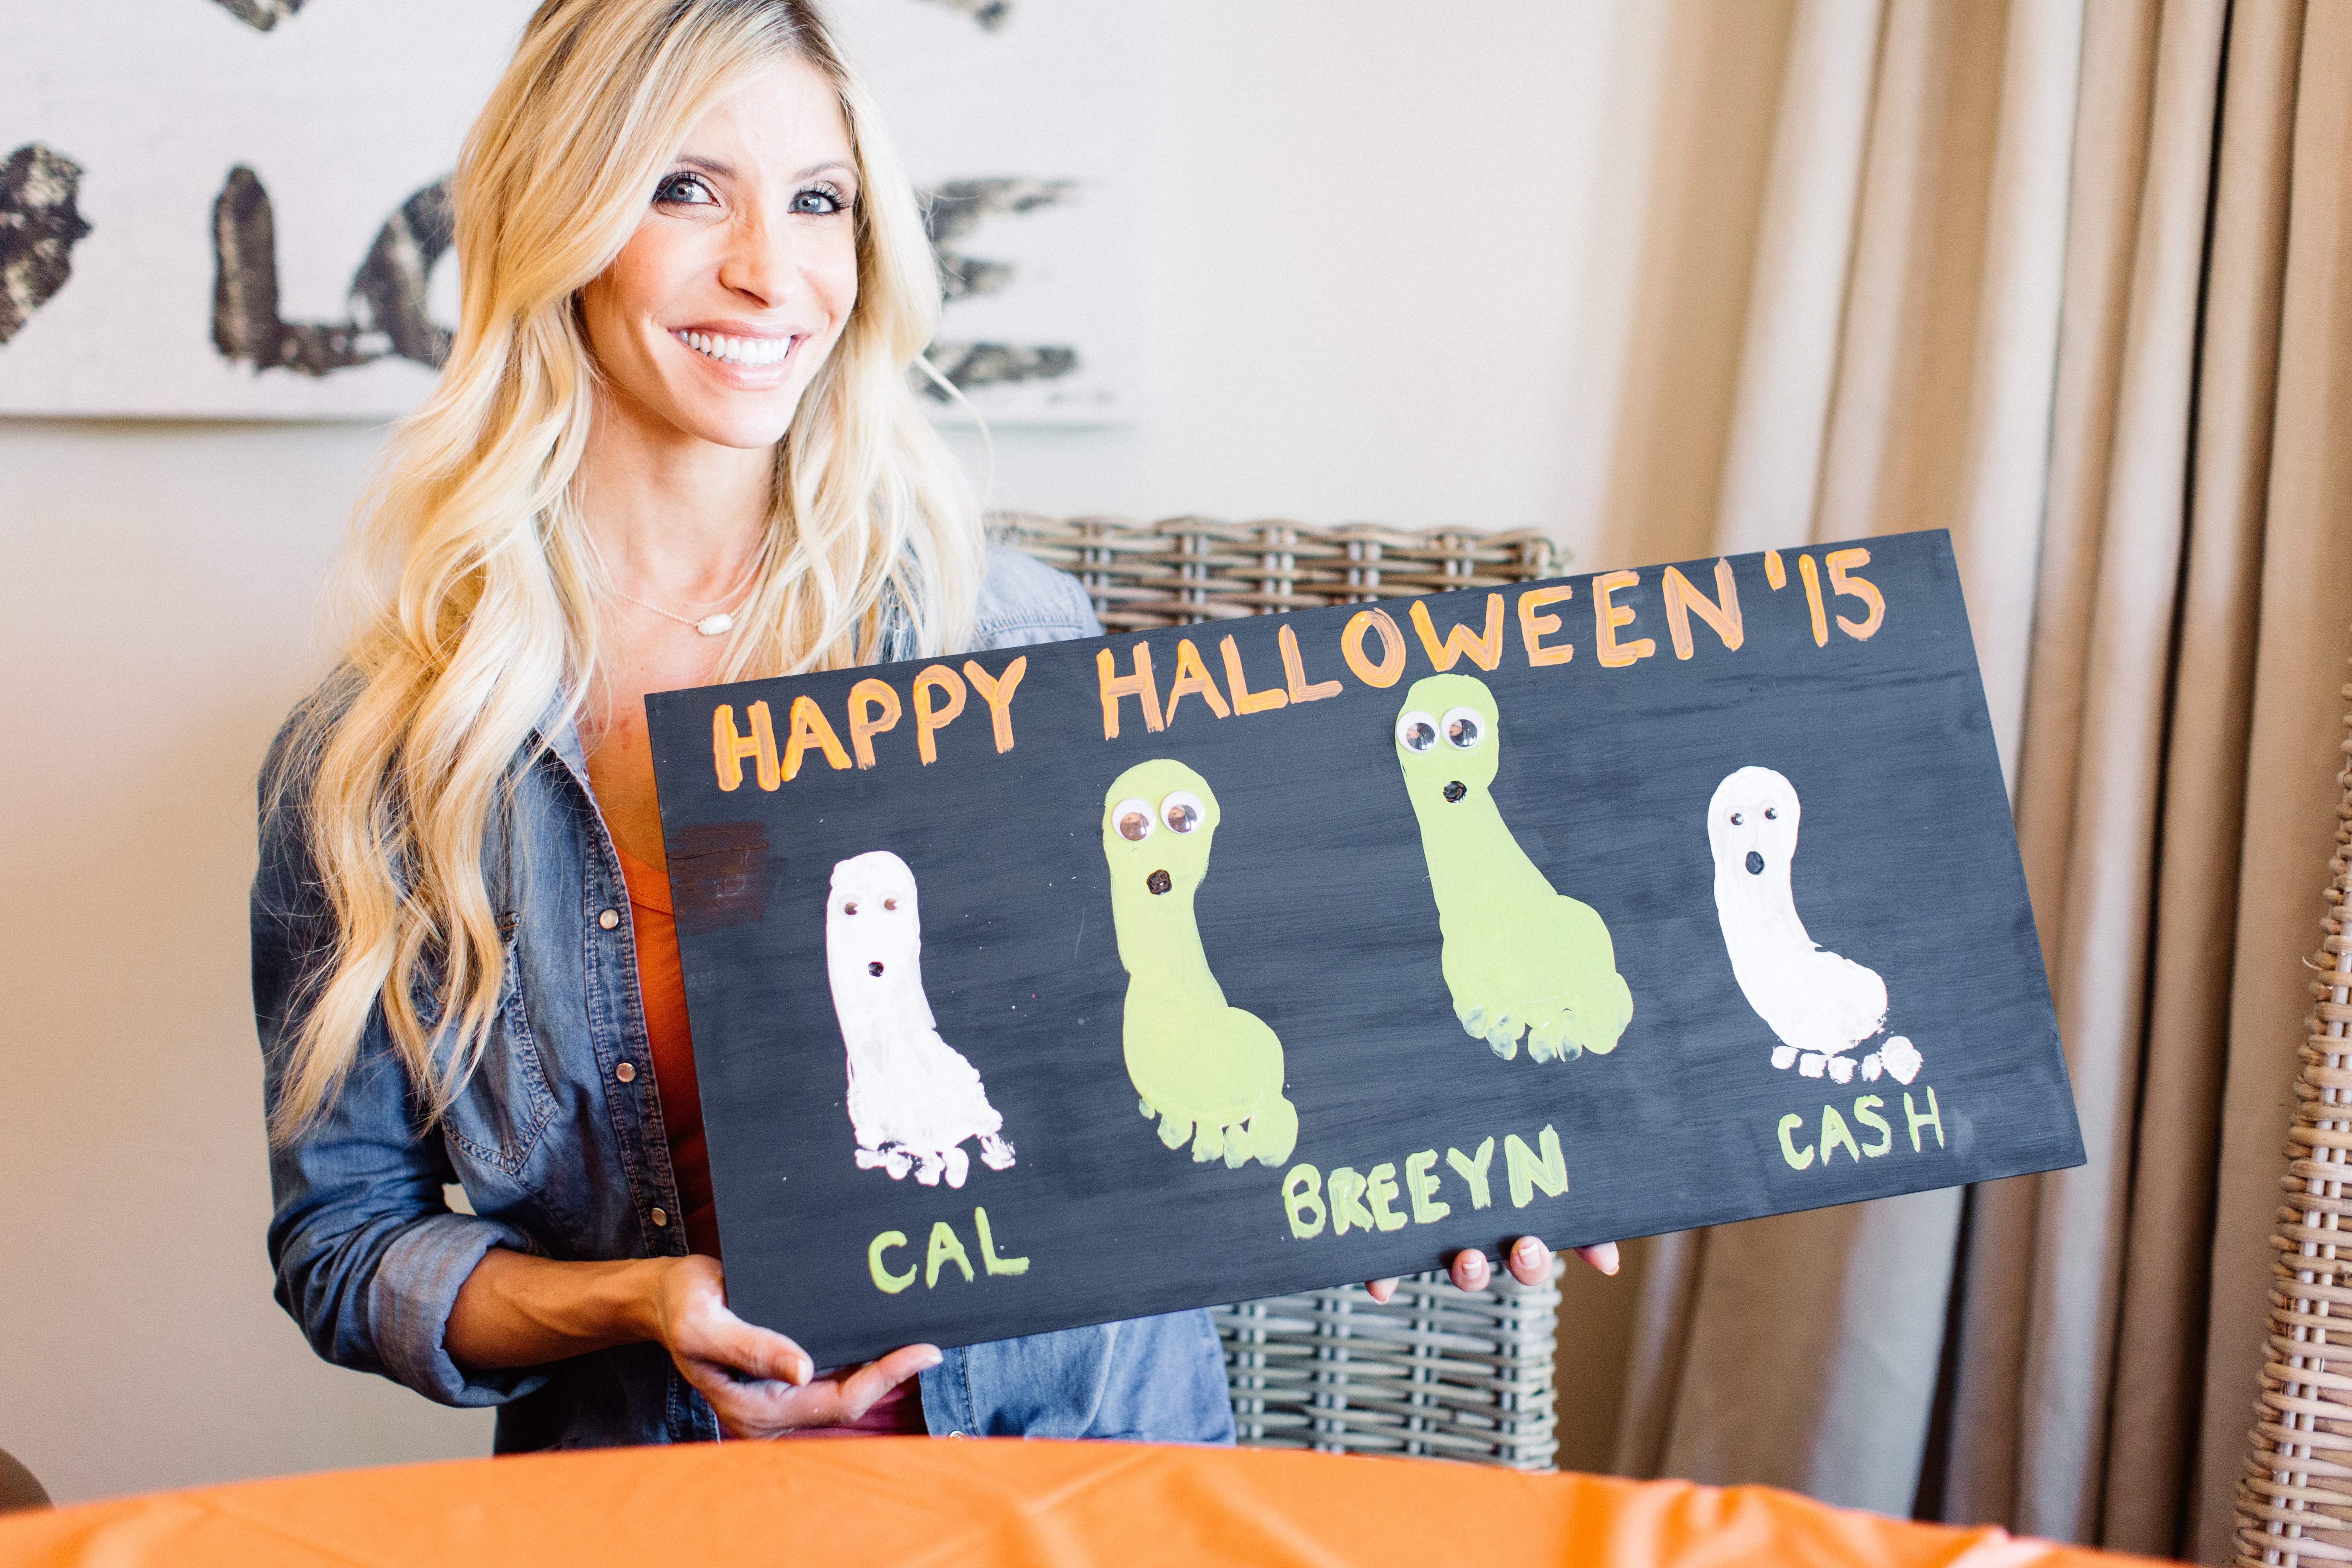
- Paint the bottom of your kiddos’ feet using whichever color you desire. We used both white (for ghosts) and green (for Frankensteins…that we messed up, so they turned into ghost/goblins). With the board placed on the ground, gently press your child’s foot/feet to the board to create a cute little footprint. Repeat as desired across the board, repainting the foot each time. NOTE: To create ghosts, place the foot upside down. For a Frankenstein, place the foot right side up. This is where we messed up!

- Place board on table. Fill in footprints (aka ghosts/goblins) with leftover paint. I like to outline my baby’s foot with a slightly thicker brush, then fill in from there. Probably have the littles sit out of this step.
- Allow the paint to dry for just a couple of minute, then super glue googly eyes and paint a black mouth with the smaller brush. For Frankenstein, you can do a cute stitched mouth across the foot.
- With desired color (orange/green are cute!), use the small paint brush to paint your little ones’ names under their footprints. We allowed the name to dry after the first coat, then applied a second to make the color “pop.” With the same brush, paint desired phrase across the top. We painted “Happy Halloween ’15.”
- After the board is completely dry, use the drill to install the D-ring hooks on the back. Use the ruler to ensure they are equal distance from each edge of the board.
- Tie ribbon to D-ring hooks. Hang!!!!


That’s it! Now you have a super-adorbs Halloween craft, happy kiddos, and a keepsake to remember their cute little footprints. Try it out, comment below to let me know how it went, and then share your favorite craft ideas. <3
For more?Powell Pack and?Extreme Weight Loss?videos,?subscribe?to my YouTube channel?here!
Xoxo,
Heidi