
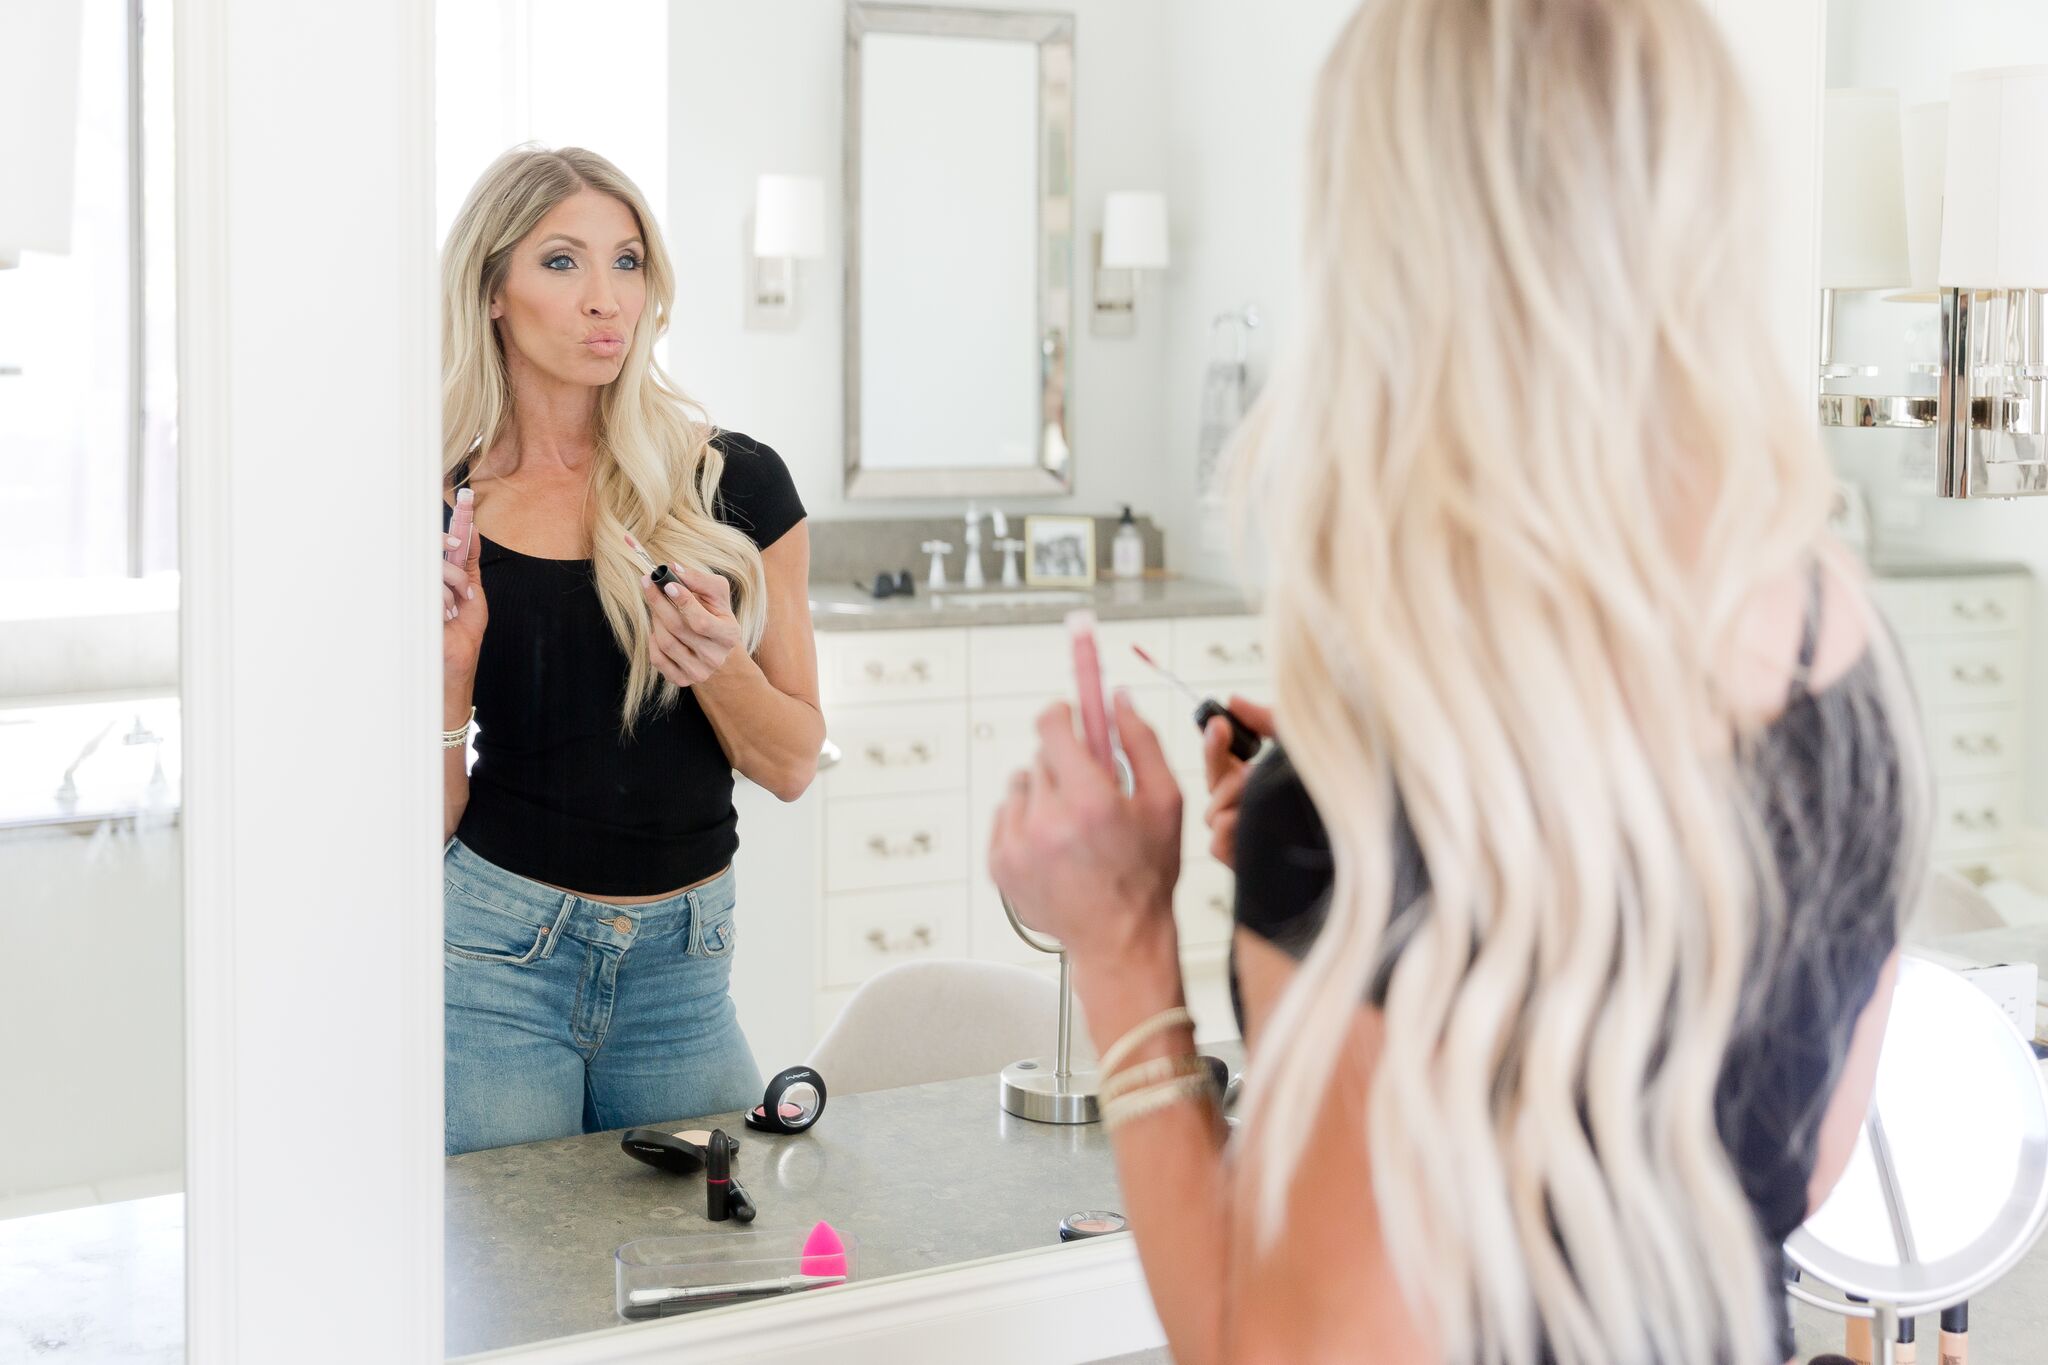
Okay, I’ll be honest…I’m not a beauty guru by any means, but I do often get asked about my makeup routine on social media. Hello, it’s called a filter! Jk… kinda. 😉
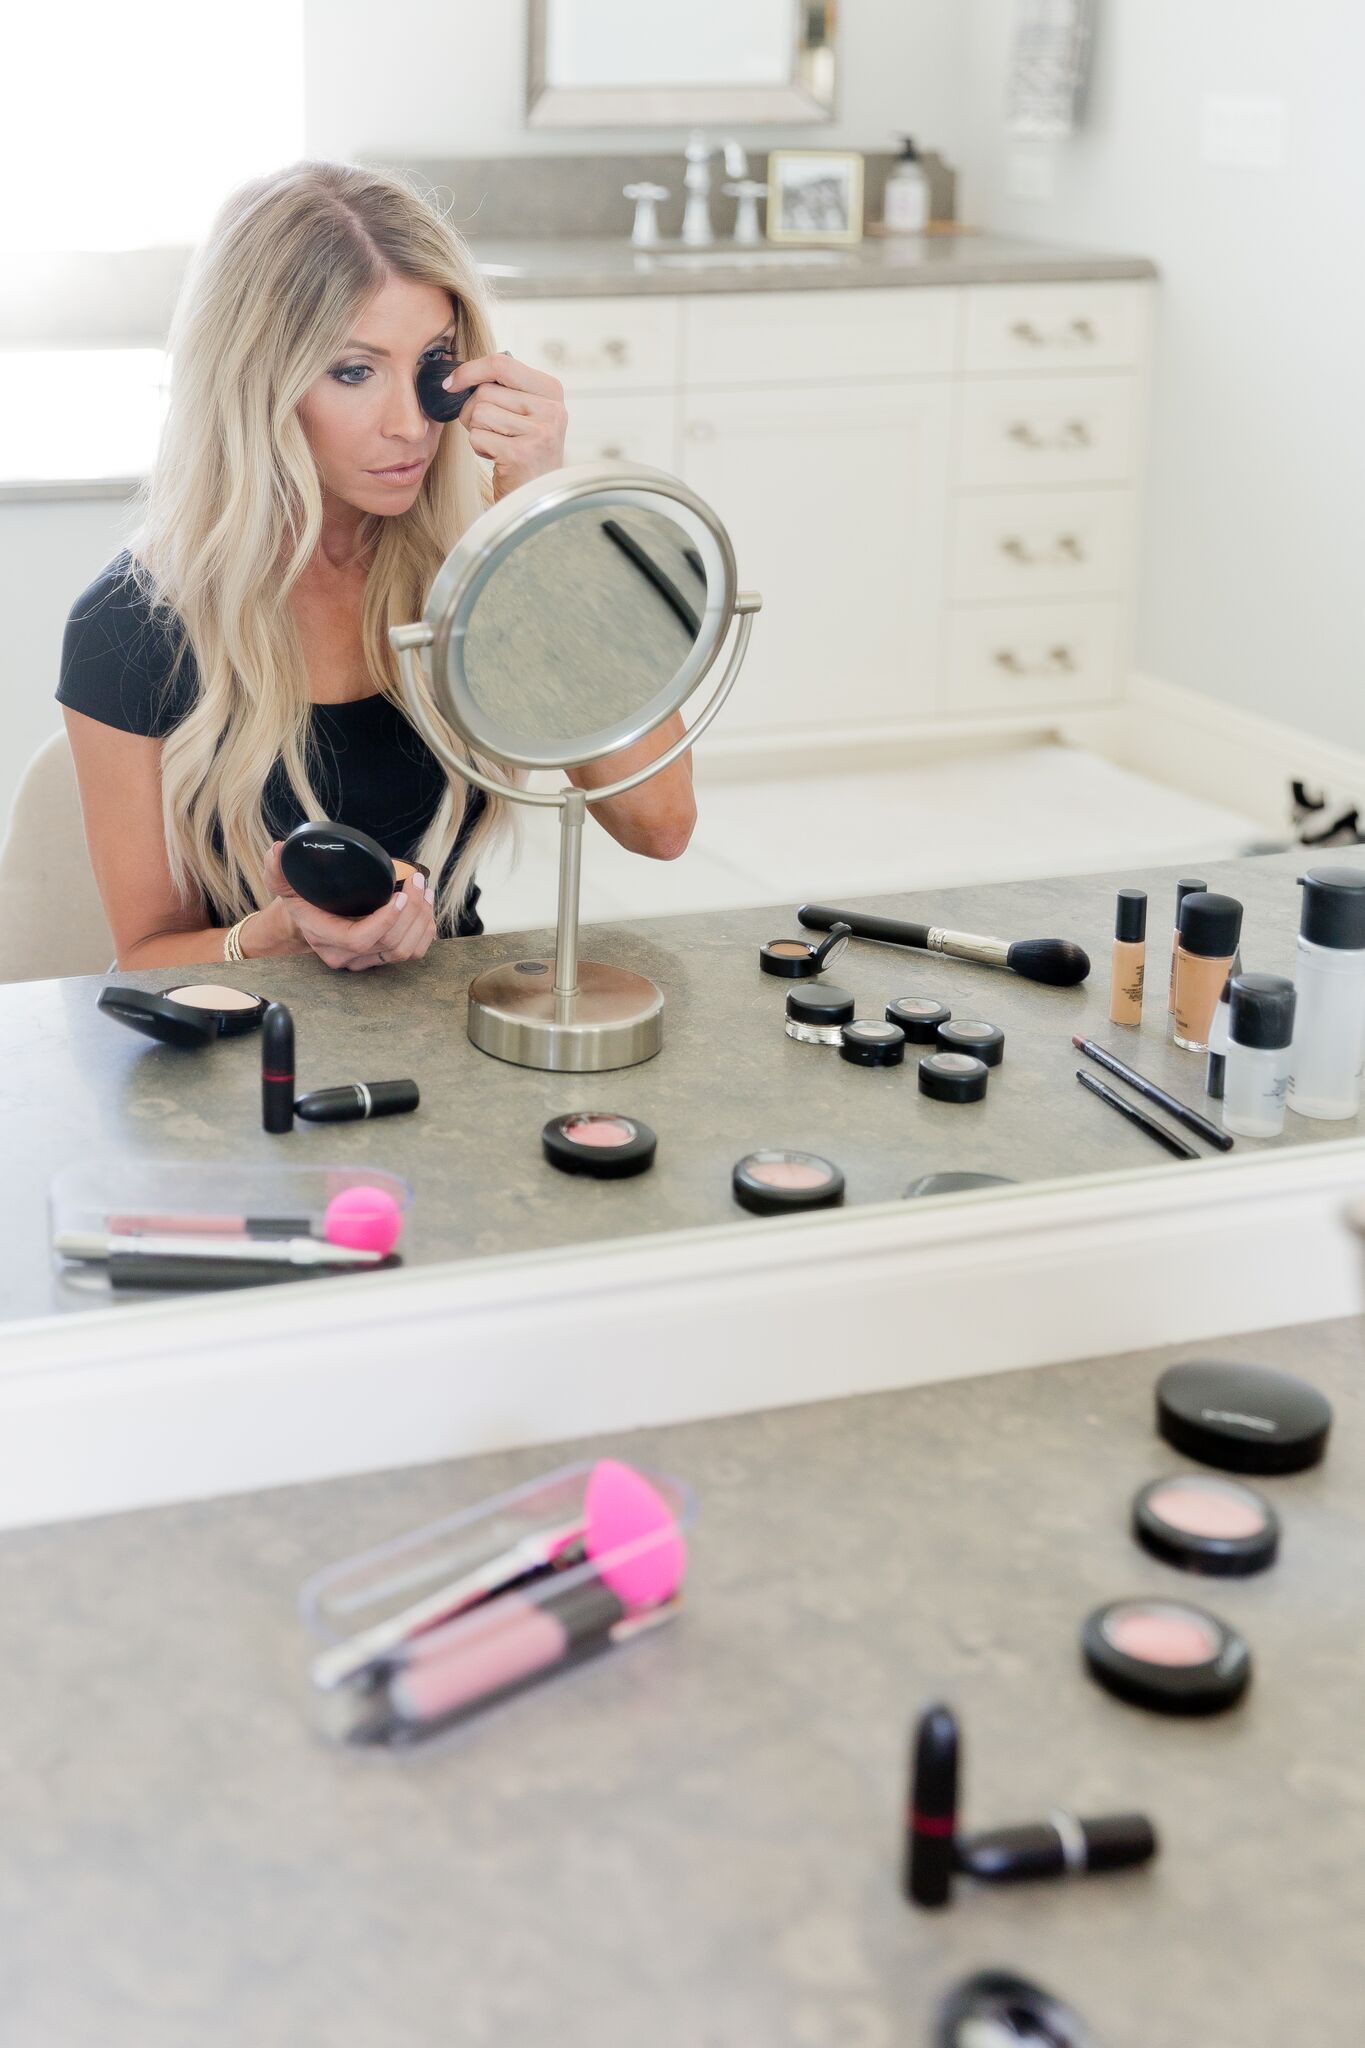
But really, over the years of doing my own makeup for Extreme Weight Loss?as well as various media events and news segments (fun fact: I’ve never had a makeup artist on any shoot or show!), I’ve found a few things that work and a lot that don’t. The one thing that’s stayed consistent in my makeup routine? It has to be quick and easy because I never know when I’ll have to get up and go or do my makeup in the car. Either way, a 5 minute face is a must for this busy mom! So, as promised, here’s my every day makeup routine and favorite products!

Daily Makeup Routine for Busy Moms
1.Eyes // Concealer and Base: MAC Paint Pot in Painterly

I always start out with Mac?s Painterly Paint Pot, and with my beauty blender, I dab some of the product onto both of my eyelids, starting with the inner rim and working to the outside of the eye, being sure to cover the entire area. You?ll notice I didn?t go underneath the eye?we?ll conceal that area with something different later on. I love this product because it works great to use underneath eye shadow as a base and really holds my makeup all day.?
2. Eyes // Eye Shadow: MAC Eyeshadow in Cork, All That Glitters and Corduroy, MAC 224S Brush, & MAC 242S Brush
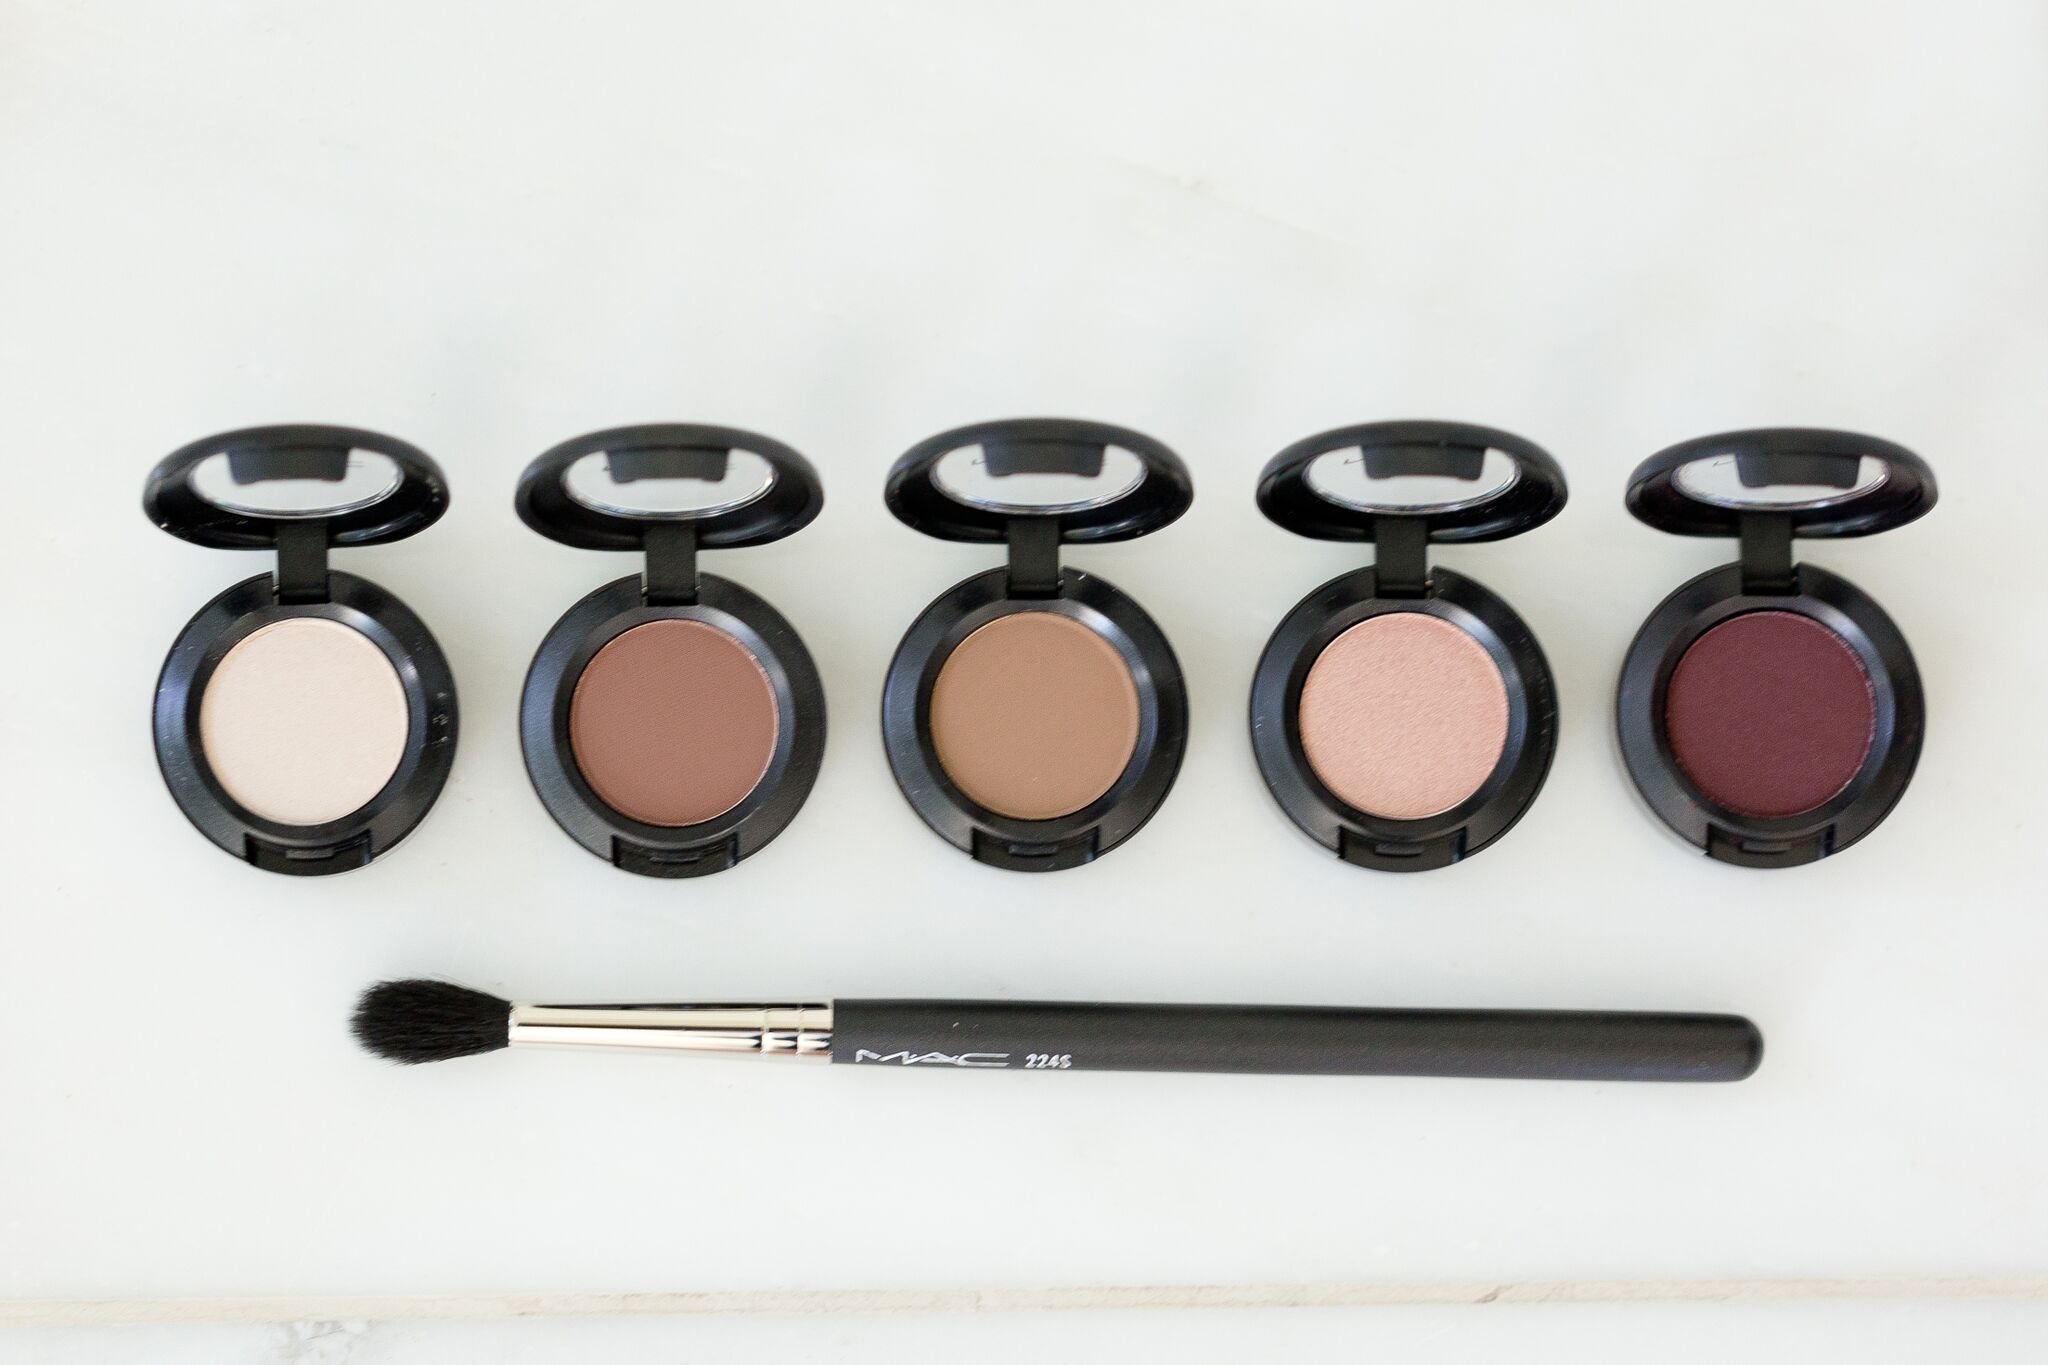
Next, it?s time for eye shadow! I love Mac?s Cork. It works as a great base that I?ll apply with my brush (Mac224S) just along the crease and rim of my eye, working from the inside rim all the way to the outside. It?s a great trick to bring the eye line up just a little bit! Make sure to cover the entire eye and focus on that crease.
After this has been applied, I switch my brush to the Mac242S, which you?ll notice has a slightly different shape. I love this brush because it helps pack on the powder for the next layer in completing this simple, yet sexy, eye look! My next layer is my absolute favorite: All That Glitters. This gives my eyes a nice little pop. You?ll want to make sure to pack that powder on the brush and then work again from the inner part of the eye to just beyond the halfway point. We?ll stop there because we?ll use a darker color to finish!
Using that same brush, I pick a darker color to finish those outer edges. My favorite go-to is Mac?s Corduroy. Add a little bit of this darker color on the tip of your brush and create a corner at the farthest ends of your eyes. This is the part that really helps create a shape to your eye. If you want to angle your eye down, angle your shadow down. For the opposite effect, if you?re wanting your eye shape to go up, make sure you?re creating that shape with your brush as you apply the color. Another great dark shadow that?s perfect for more of a nighttime glam is Sketch.
Once the color is applied, it?s blending time!?
Bonus: If you’re on a budget, picking up a palette like this, allows you a variety of colors, including some of the colors I use. For under $40, you can’t go wrong.?
3. Skin Tone // Foundation: MAC Prowear in NW25
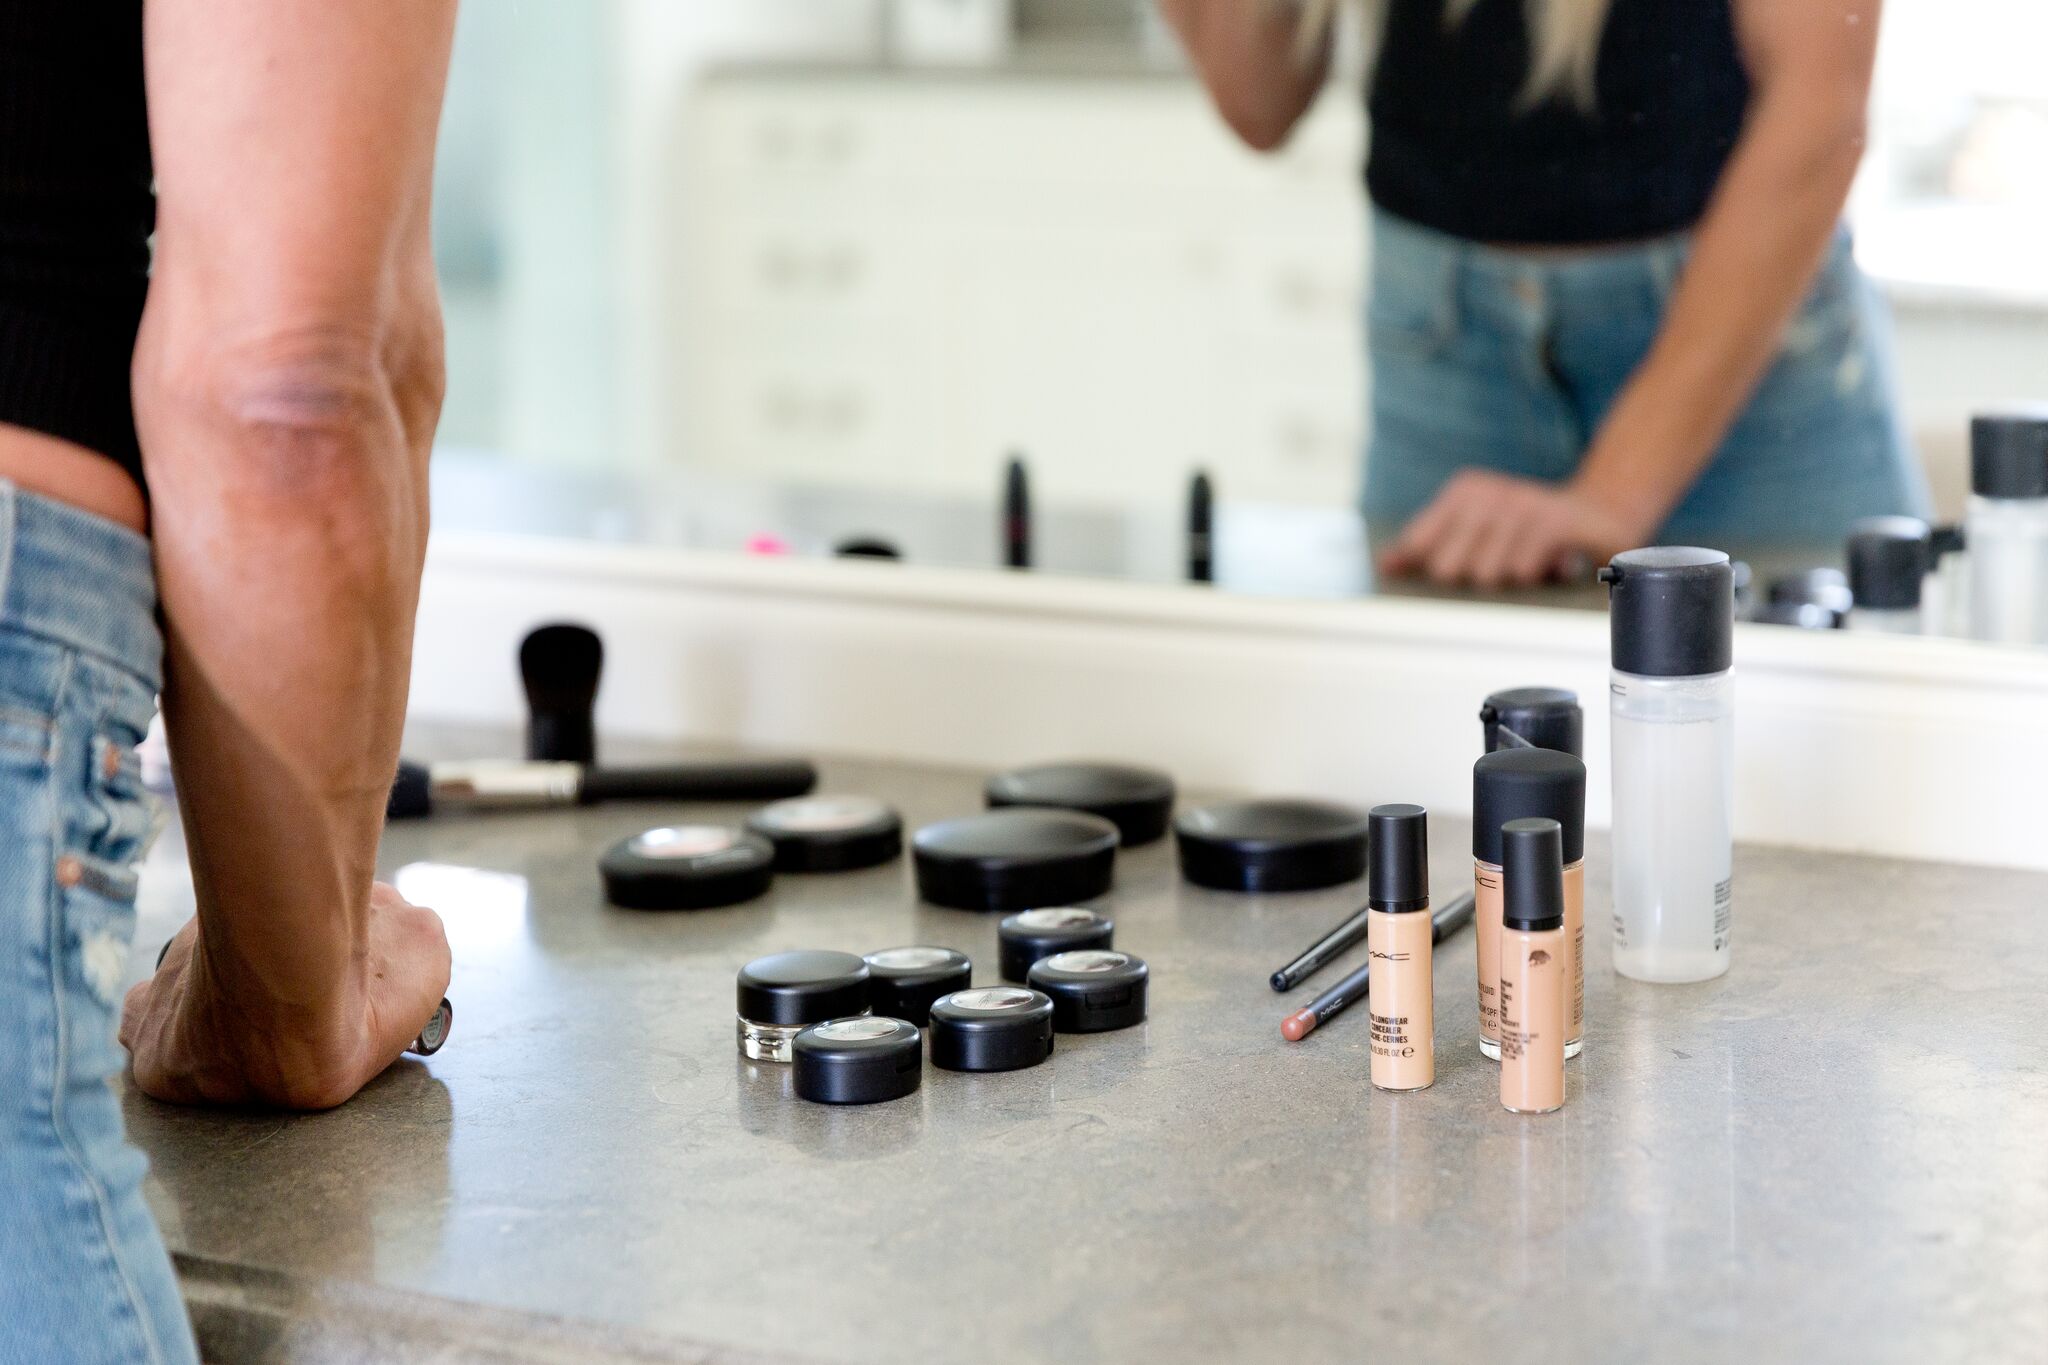
Because I currently have a spray tan, the Mac foundation color that works best for me is NW25, but just a tip: NW20 is better for lighter skin tones, and the NC family is great if your skin tends to have more of a yellow tone. The best way to find your perfect match is to head to your nearest Mac Counter (or any counter) for a consult!
I use 3-4 pumps, and with my beauty blender, I evenlycover my entire face. One thing to keep in mind is that you?ll want to make sure you are blending into your hairline, ears, neck, and nose. I promise you, if you neglect those areas, it will be noticeable!?
4. Skin Tone // Concealer: MAC Prowear in NW25 & NC25
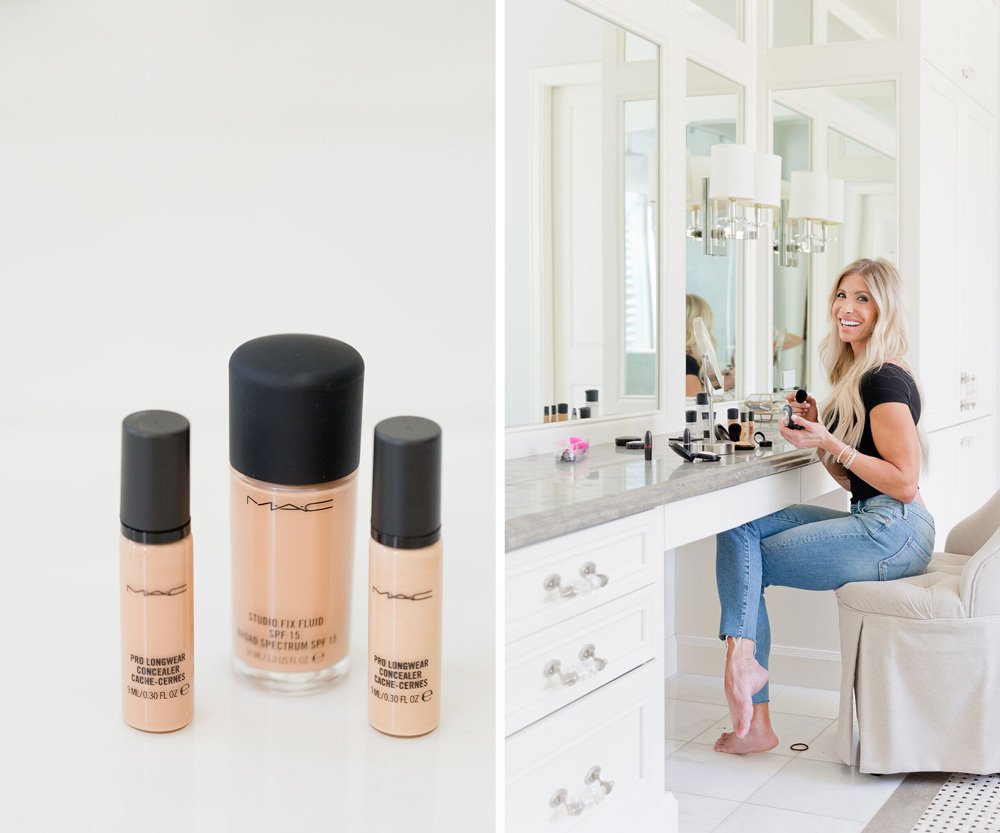
Now it?s time to conceal the areas I skipped in the beginning. I always apply underneath my eyes and then anywhere else I may be experiencing redness.?
NW25 is perfect for under the eyes and any other problem areas, and then I use just a dab of NC25 to brighten up my face. This isn?t something I do every day, but only when I?m going to be on camera or when I need to add that natural glow. One small pump is all it takes, anywhere you feel your face needs a little brightening! Cheek bones, the top of your nose, forehead, and jawbone are great places for this!?
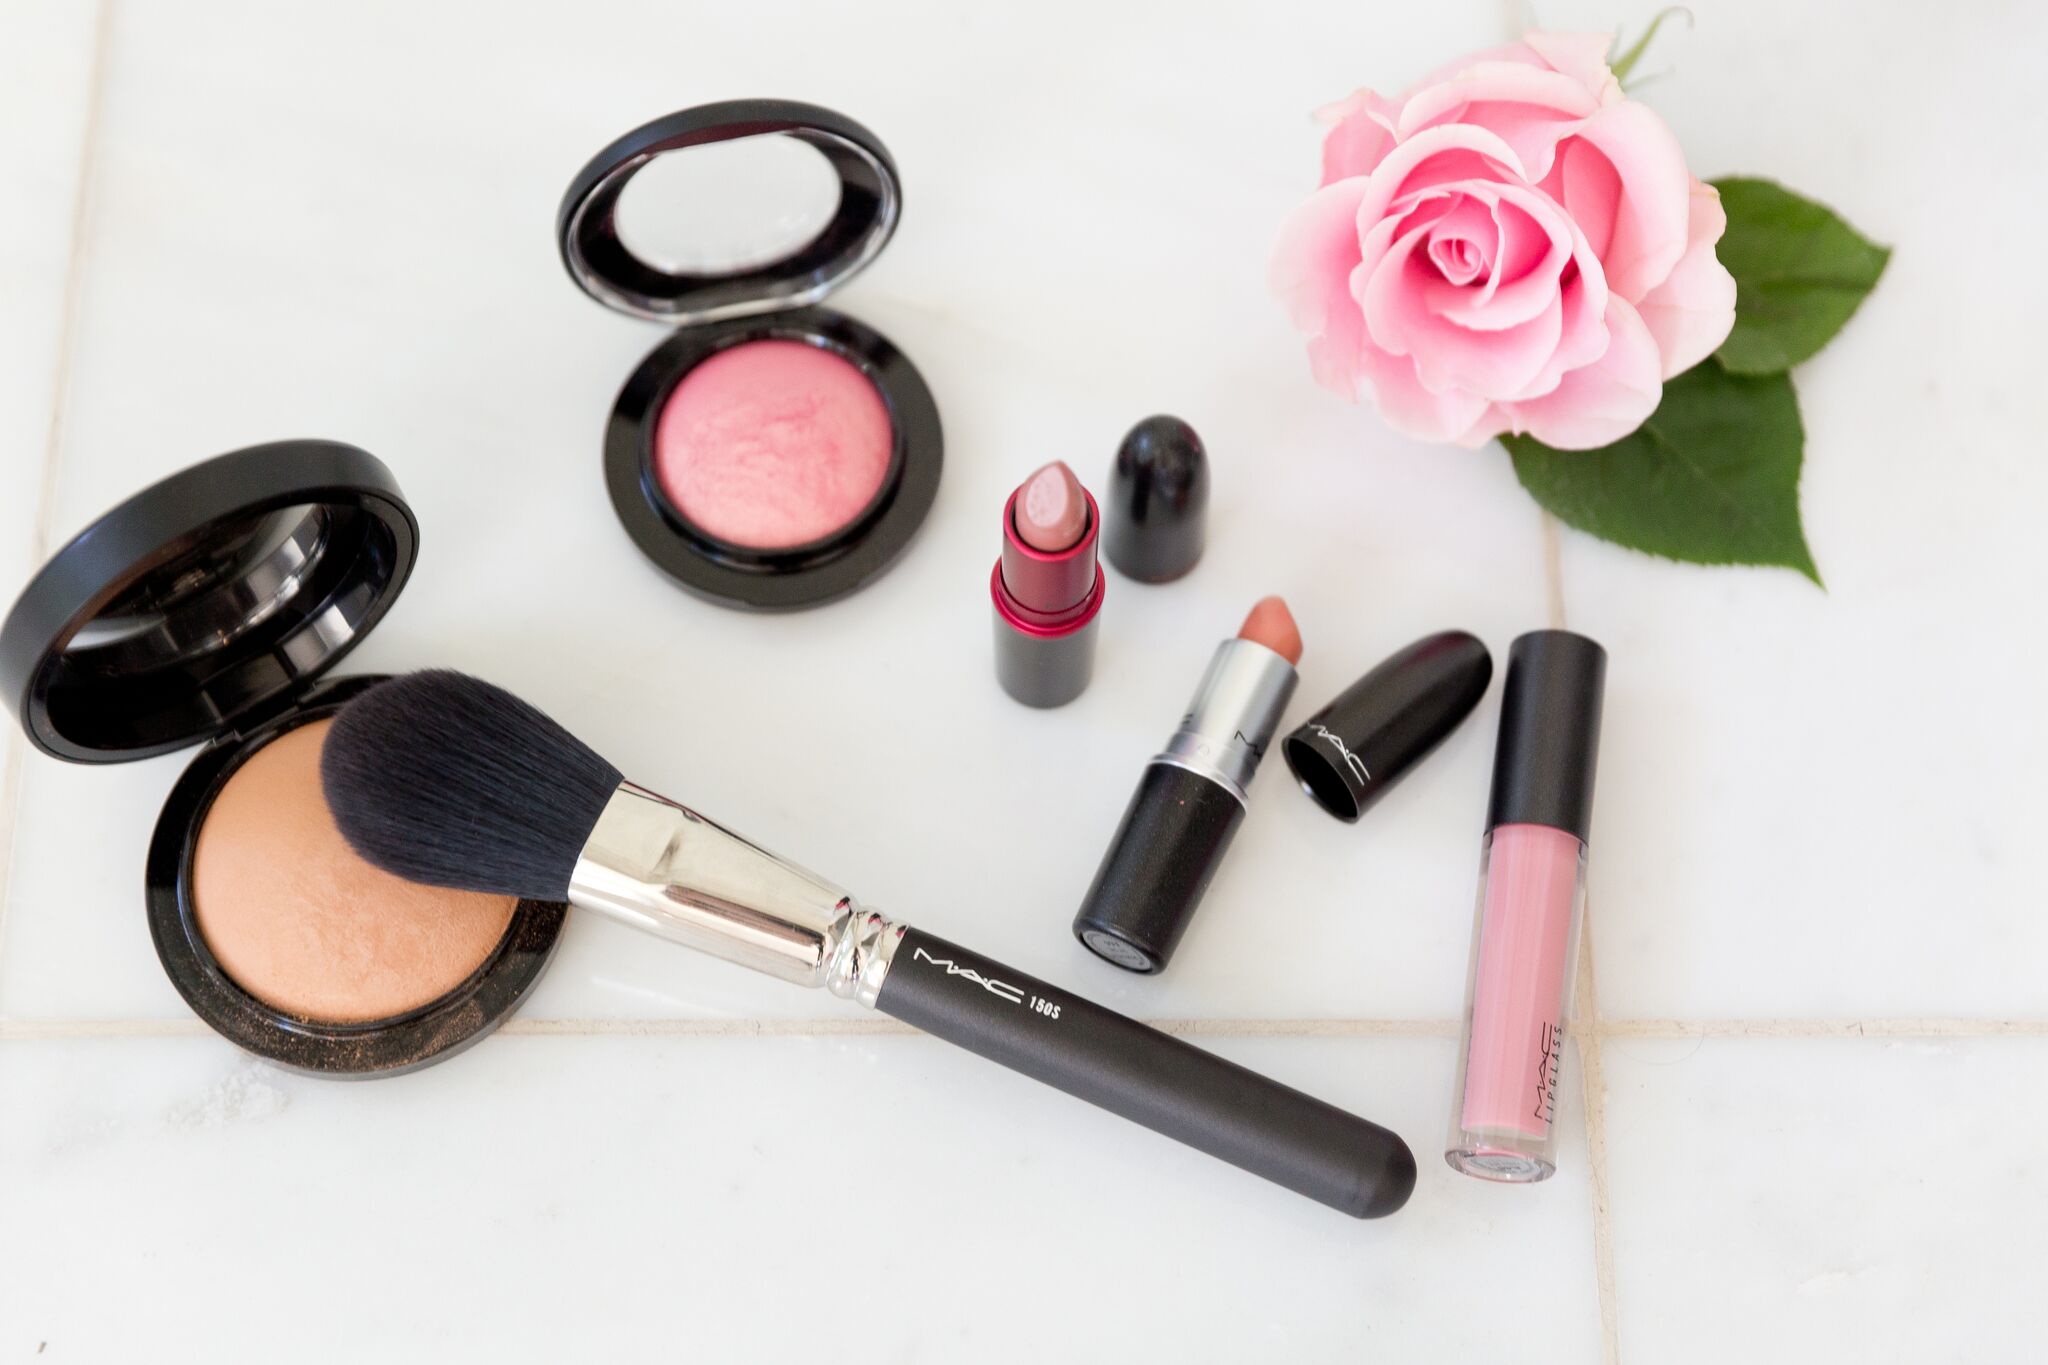
5. Setting Time // Powders: MAC Mineralize Skinfinish?& MAC 182s Brush
Now that my face is painted, my skin tone is even, and my eye shadow is done, I’M SET!
One of my best tricks here is that I use bronzer powder first because I feel it really helps emphasize that natural glow, and every day makeup looks are meant to emphasize the natural beauty without making it seem like you?re wearing a ton of makeup, right?
My two favorite bronzers are, of course, from Mac: Give Me Some Sun and Medium Deep. If I?m super tan, I use Give Me Some Sun, and Medium Deep is perfect when my skin tone is a little more in between.?All of these colors are linked here.
Mac182S is the perfect brush for applying powder. The brush is wide set, and it?s almost like a blend between a blush brush and beauty blender, which I love. I focus the dark powders on the areas I want to contour: underneath my cheekbones, the sides of my forehead, and underneath the jawline. Sometimes I?ll also do the sides of my nose just to give it a little more shape.?
Then I go back with the lighter powder, in this case, Mac Medium. This gets applied to those brighter areas: cheekbones, jawbones, the middle of my forehead, and the very tip of my nose.
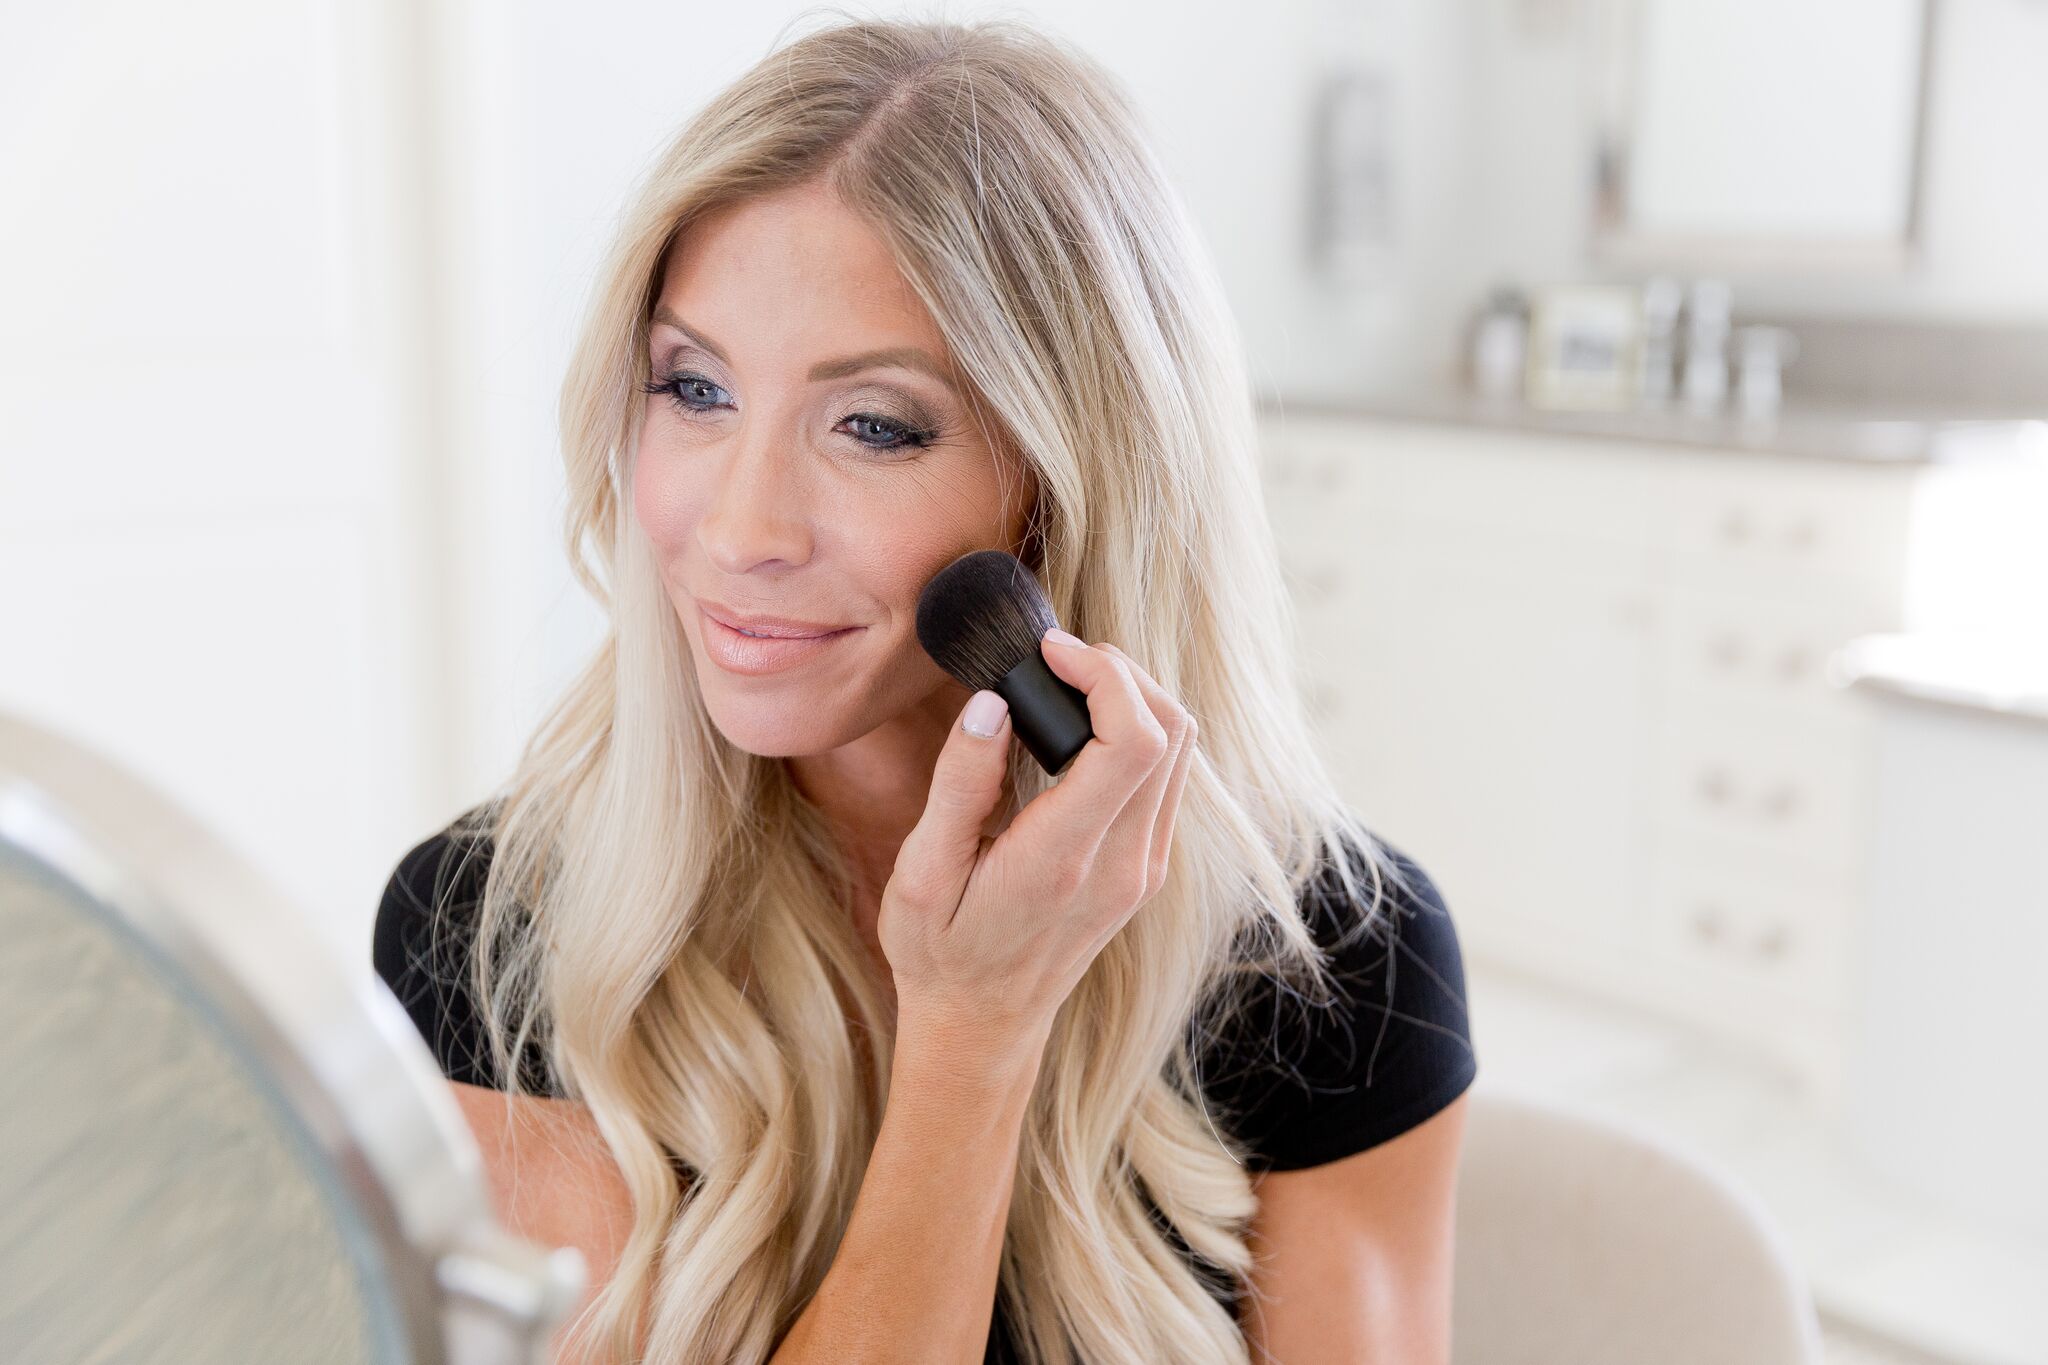
6. Cheeks // MAC You?re Making Me Blush and MAC 150S Brush
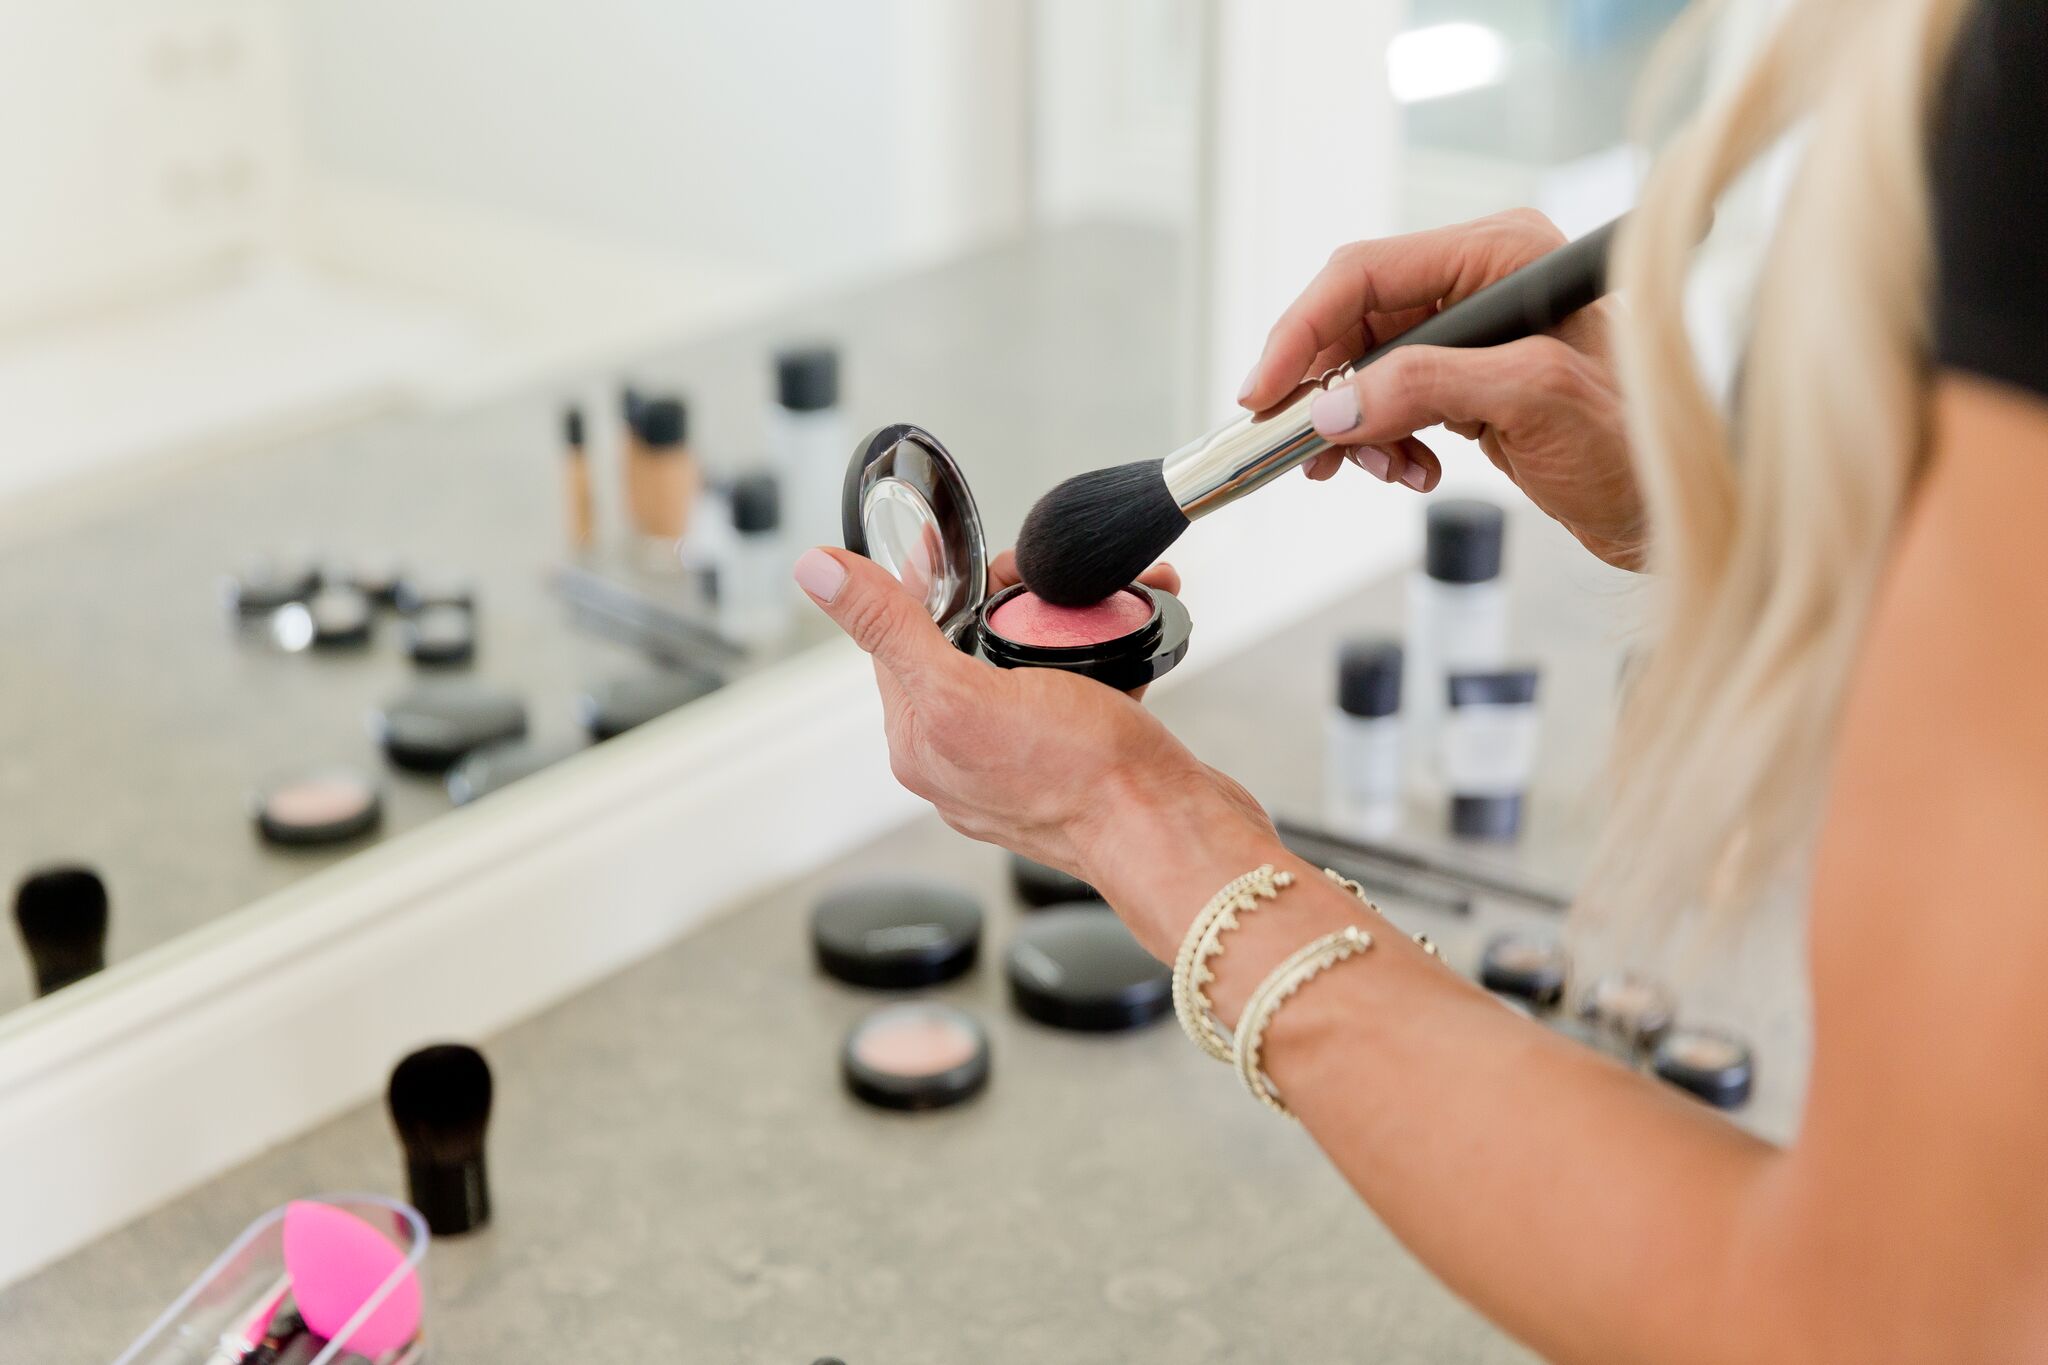
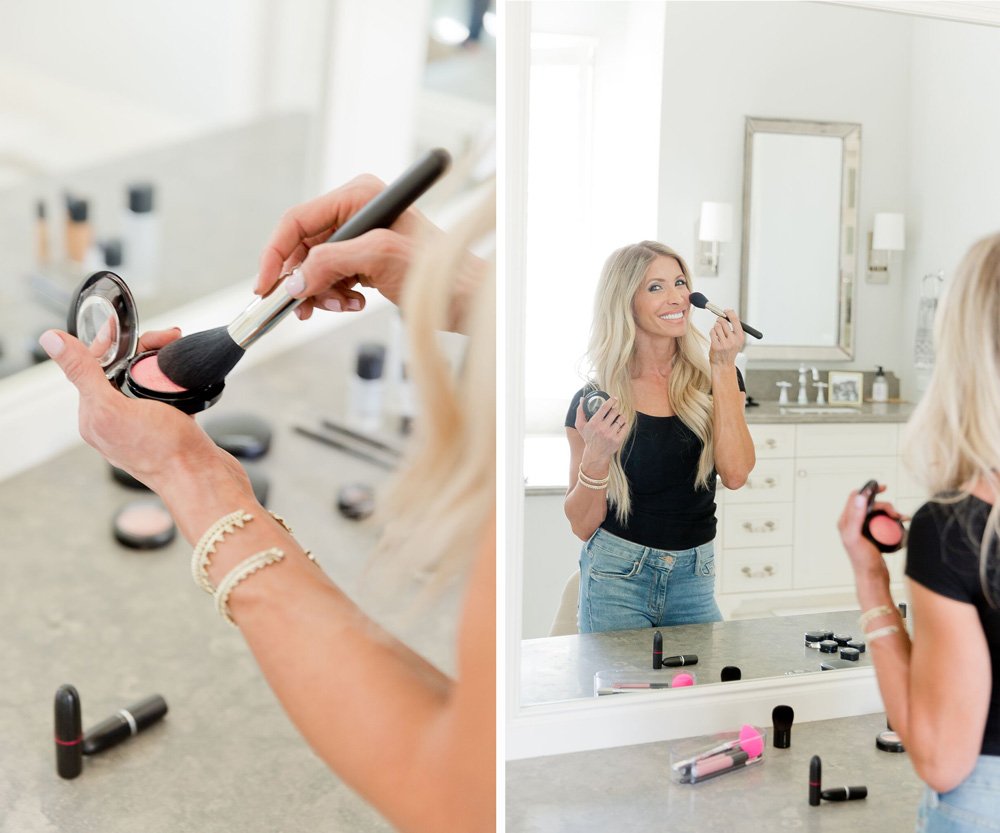
When it comes to blush, I have two that I love and switch up depending on the look I?m going for. Mac?s Melba is great for an every day look, and Petal Power is perfect if I?m wanting some pops of sparkle.?
My favorite blush brush is the Mac 150S. I apply the blush to my brush (say that five times fast), blending it in a little and applying it just to the apples of my cheeks and blending the color back.?
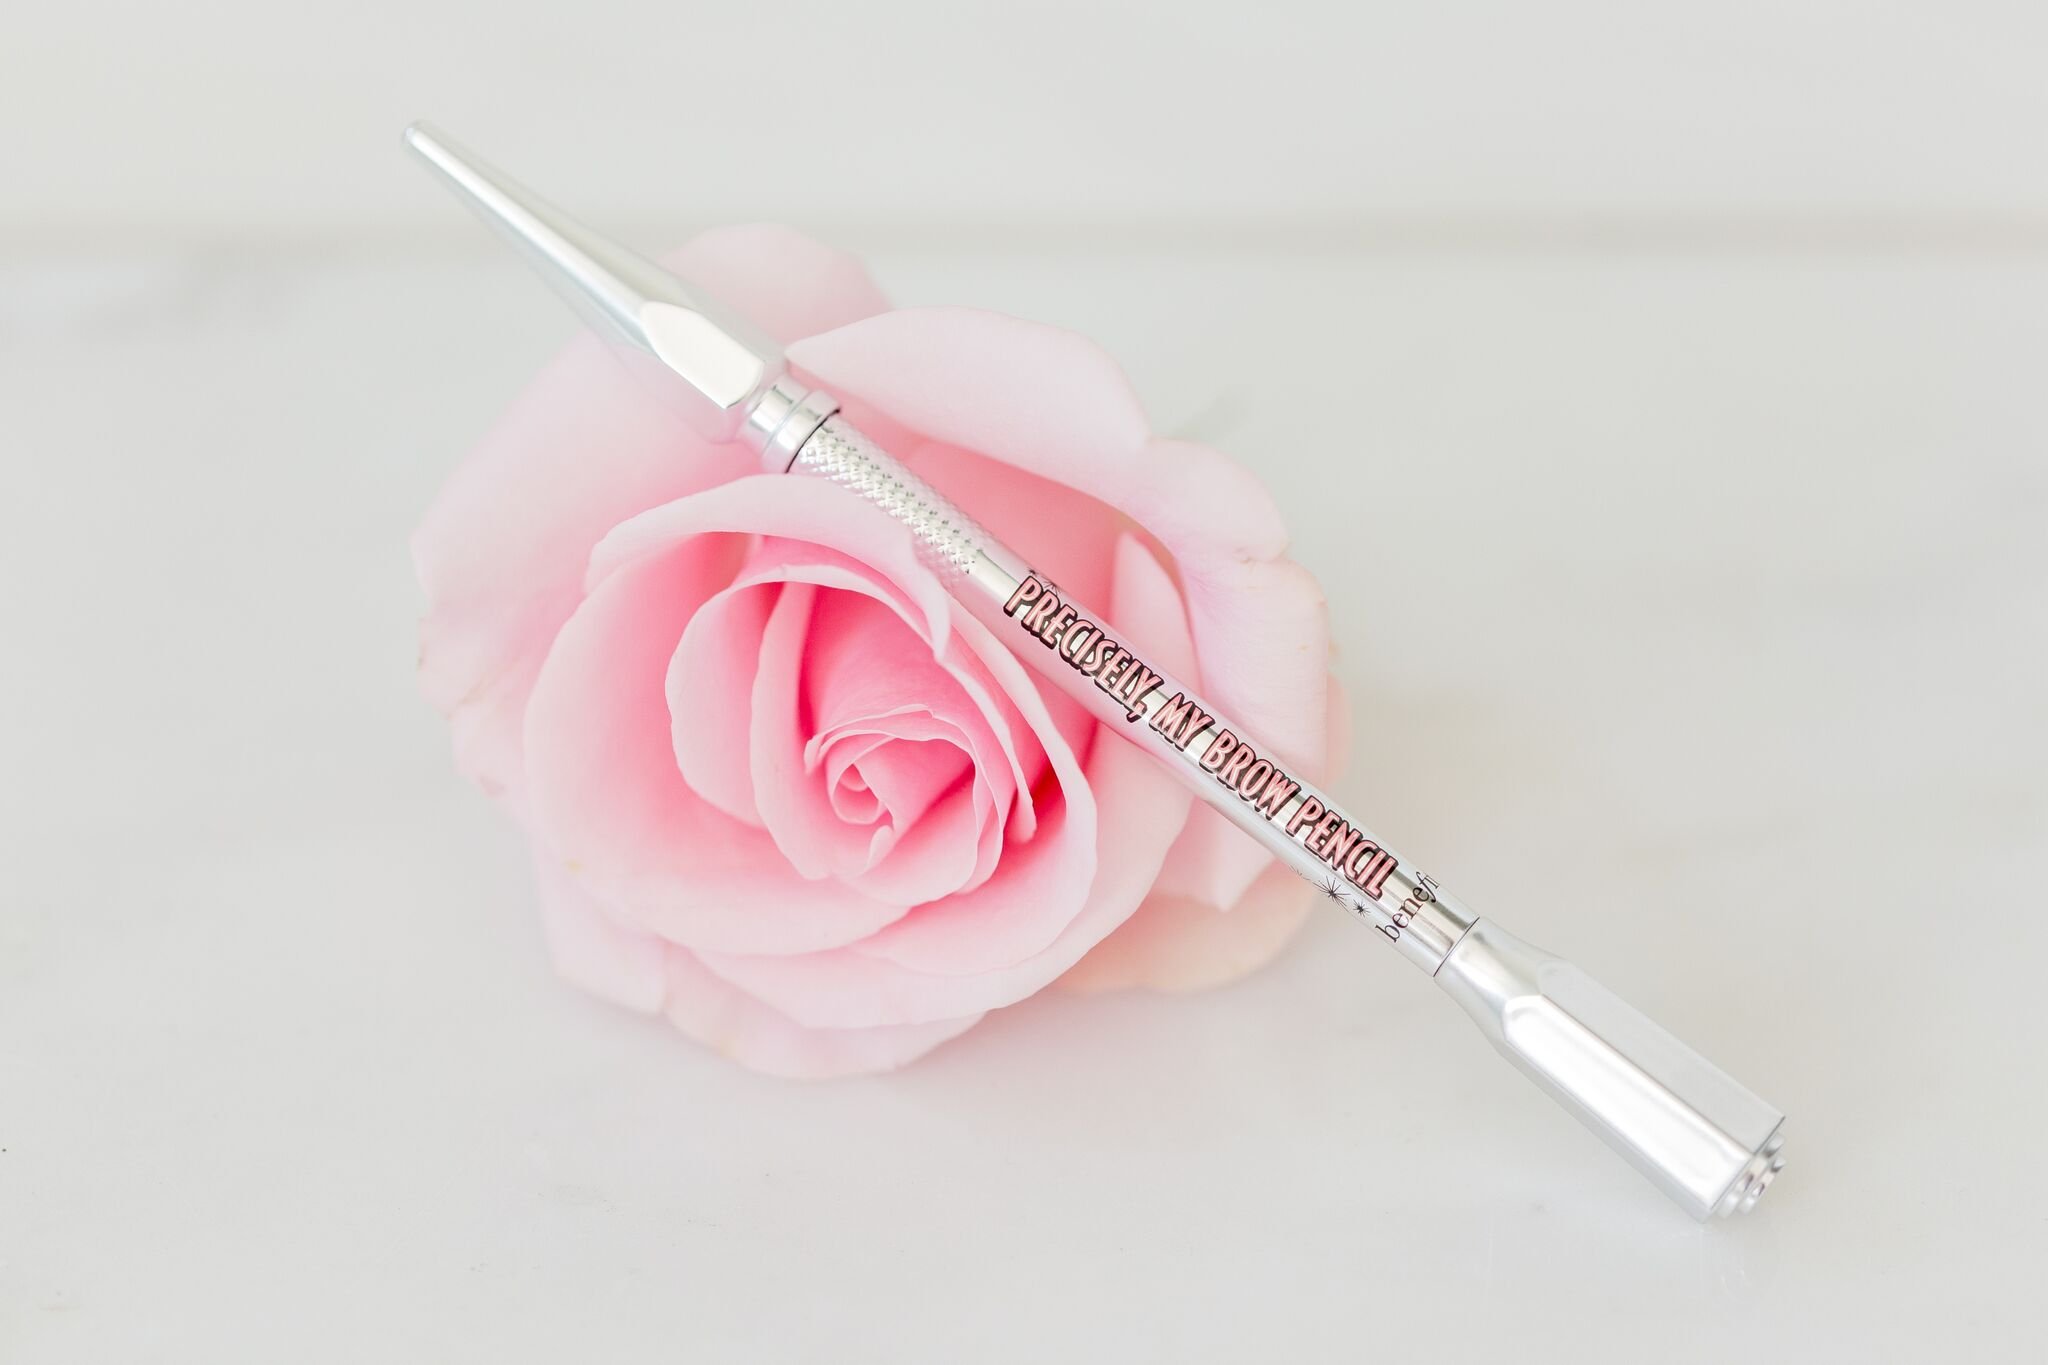
7. Brows & Highlight // Benefit Precisely Brow?& MAC Eyeshadow in Shroom
When it comes to brows, I don?t mess around! This is the part that makes me the most nervous because if you rush through, it?s definitely easy to mess up. And my brows are both shaped completely differently.?
The best piece of advice I?ve been given about my brows is to think of them as sisters, not twins. Meaning, they don?t have to be identical. As long as you?re able to shape them similarly, you should be good to go.
Benefit Precisely My Brow No 2 is a great color that?s perfect for blondes, and No 3 is great if you have a little bit darker tones to your hair. Once I?ve drawn the outline and filled them in with color, I?ll take the brush part of my pencil and slightly brush them up.
 ?
?
A trick I?ve learned to set them is to spray a very small amount of hairspray on my fingers and run them over the top of my brows, just to keep them in place.
Next up, highlight my brow bone. To highlight the brow bone, I take my color (Shroom) plus the same brush I used for my eye shadow, and I fill in the brow bone on each side just to give it a little shimmer and a little highlight.
Finish Touches: MAC Technakohl Eyeliner & MAC 3D Mascara
Next, I line the waterline of both the bottom and top of my eye. You?ll notice I do just the top corner because this helps give a little life. A little tip to keep in mind: If you have smaller eyes, you don?t want to line the inner water line. If you want to open them up a little bit, take a white-colored eye liner and line your inner rim with white, which will totally makes your eyes pop!?
Since I don?t have the steadiest hand when it comes to applying eyeliner, I like to go back over my top line with a little bit of dark shadow to create more of a smudged appearance. Sketch is a great color for doing this.
Finally, it?s time for mascara. As a general rule, I never wear waterproof mascara. Waterproof is really difficult for me to wash off, which ends up making my eyelashes fall out, so I avoid it at all costs! My favorite Mascara is Mac False Lashes in Extreme Black. I apply a little heavier on my top lashes in the corners to help my eyes pop, but then I put very little on the bottom row of lashes.?
8. Pucker Up // MAC Lip Pencil,?MAC Shy Girl Lipstick, &?MAC Candy Box Lipgloss
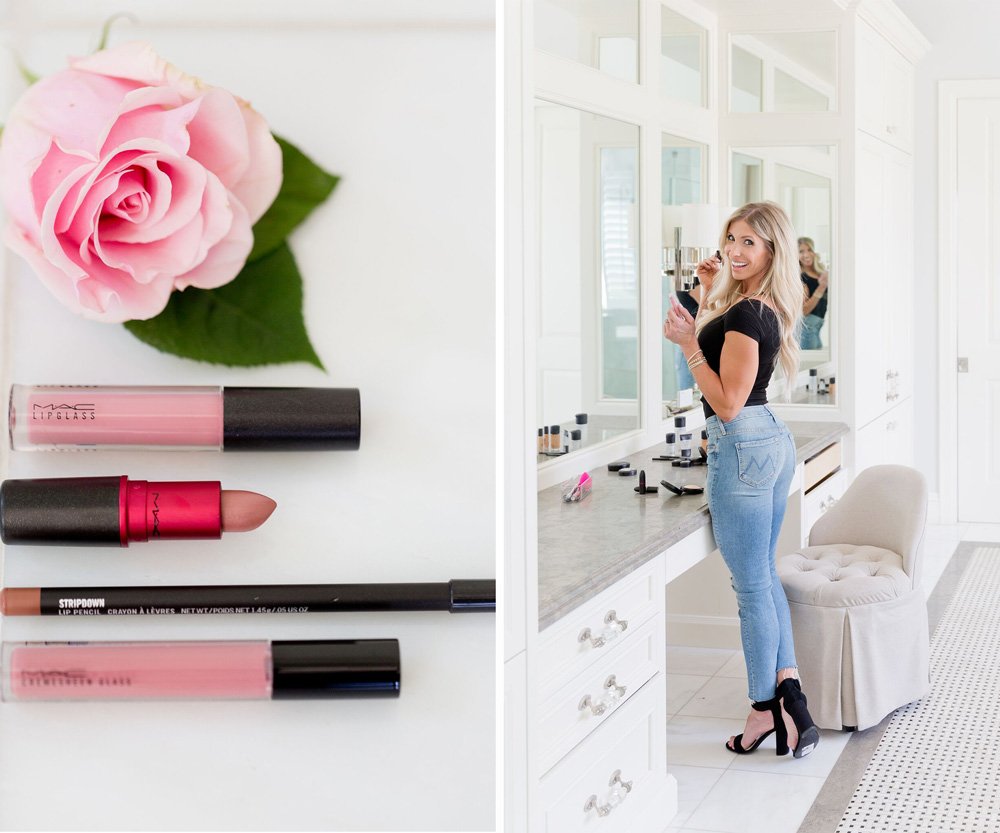
I start by lining just slightly outside of my lip line to help create a look of fullness. A few of my favorite colors are Stripdown (what I used in this video), Oak is a little lighter, and Whirl is a little more pink. After my lips are lined, I apply my favorite lip color, which is a perfect nude: MAC Shy Girl. This blends perfectly with the liner, and then I top with a gloss?Candybox is my current obsession. It?s a great color when you?re looking for something light and creamy that will blend well with your pinks and your nudes.?
9. Photo Finish // MAC Finishing Mist
To finish the look, I spray with Mac Fix, which sets all of my makeup, lessons the chance of cracks appearing during the day (hello, 36) and gives one final dewy glow that makes me ready for my day!?
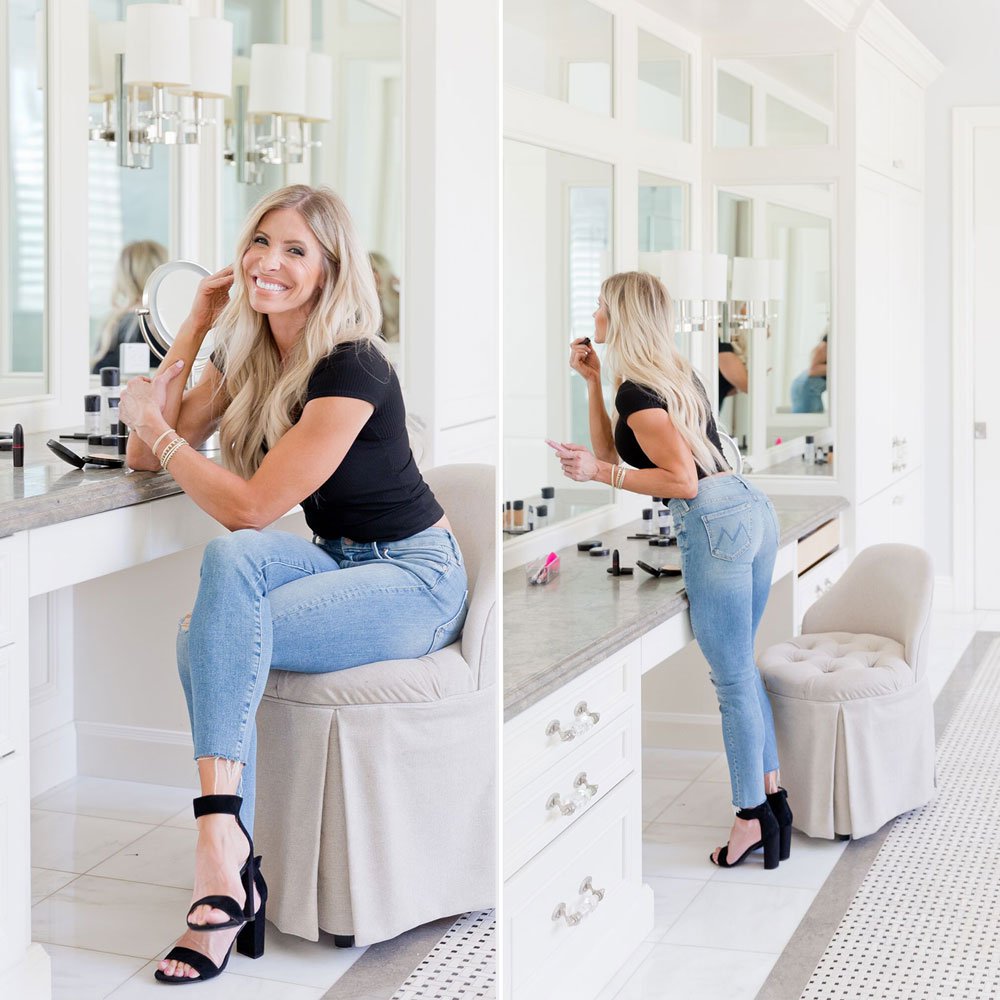
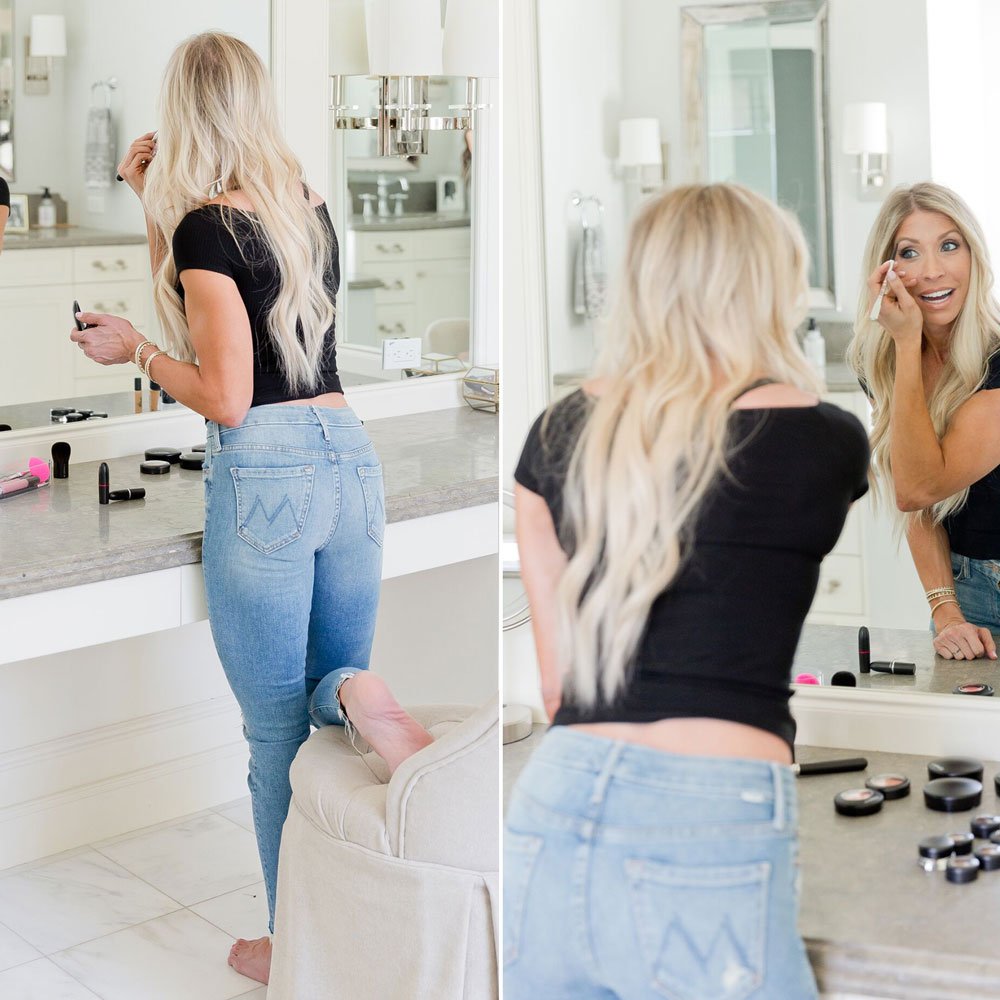
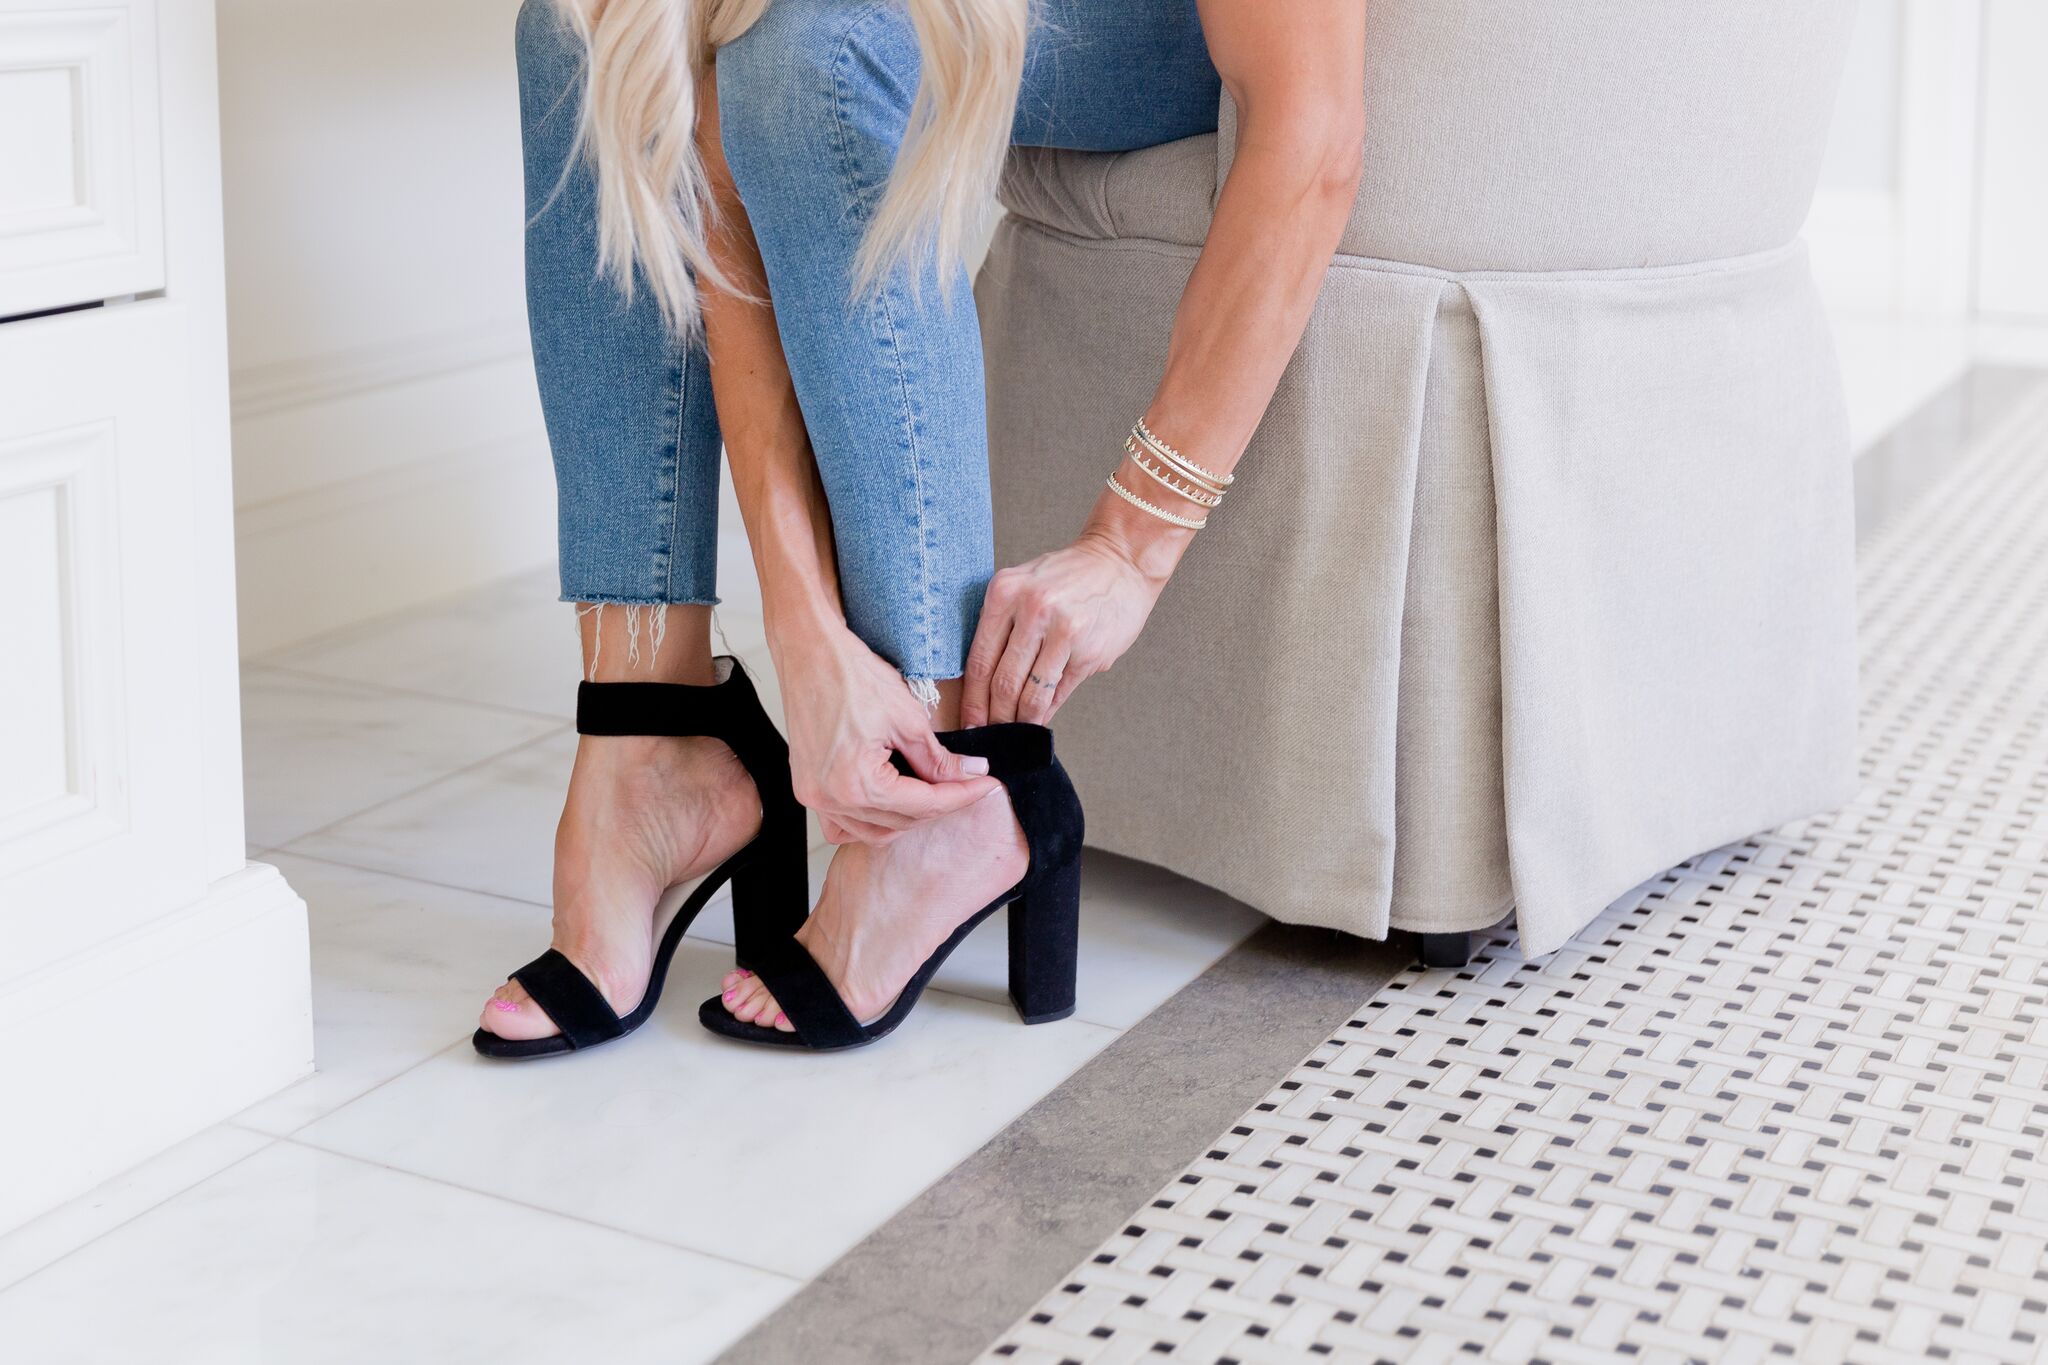
Outfit Details: Black Tee, Mother Frayed Jeans?(similar here under $40), Kendra Scott Stacking Cuff (similar bracelet?here under $30), Steve Madden Carrson Heel
So that’s how I complete my every day makeup routine! Simple, quick, with an amazing finish. Please leave me some love and comments below! Again, I am by?no means a makeup artist! I’d love to learn your best tips and tricks for putting on a flawless face, and what products do you swear by??
xo,
Heidi
Related reading:
Day-to-Night Makeup in 10 Minutes | with Amanda
The Power of ?READY? || Plus Friday Faves: Jeans & Sneakers
On a Scale of One to Zen || Dream-Worthy PJ Sets You Need in Your Life
Falling For These Sneaker Trends | Best Sneakers For Any Occasion
36 Responses
Thank you so much!! So nice to get step by step instructions on how to look flawless!
You are so beautiful, even without makeup. I wish I could look 25% as good as you. Thank you for being so honest and real.
Easy tutorial for non expert (like me lol) to try. It looks very nice and fresh. Thanks for sharing!!! X
Love the tips! ??
Thanks for the tips. I often wonder if women use one makeup line or not. I prefer to but have incorporated other makeup lines in my routine. MAC is always a fabulous go-to for EVERYTHING! I appreciate that you use your ring finger to touch up your spots. It’s the weakest finger we have and prevents a lot of pulling that results in wrinkles and sagging skin later on in life. Many women don’t know this.
Beautiful! Sotoks and One Drop Wonder from LimeLife by Alcone can work miracles on melasma! Their Midnight Oil Collection is fantastic for that too!
I cannot do makeup for the life of me. I do not even own anything. I wi give this a try! If we can move all that heavy weight, why is this so difficult?
Can I just say thanks for the makeup tutorial for us ladies not in our 20s? ? It looks great and I ddI get some good tips. I?ve not seen the eyebrow hairspray trick before. Also wanted to add that Clinique?s Take Off The Day line, particularly the take off the day cleansing oil is great for removing makeup, even waterproof mascara without sacrificing your lashes. ??
Great Makeup Heidi , I really like that ??
A beautiful look! ??